DIY Car Modification: Welding… And then some more welding.

Some time you have to just dive right into to the deep end, and this has been the case since I started to get into some metalwork and welding.

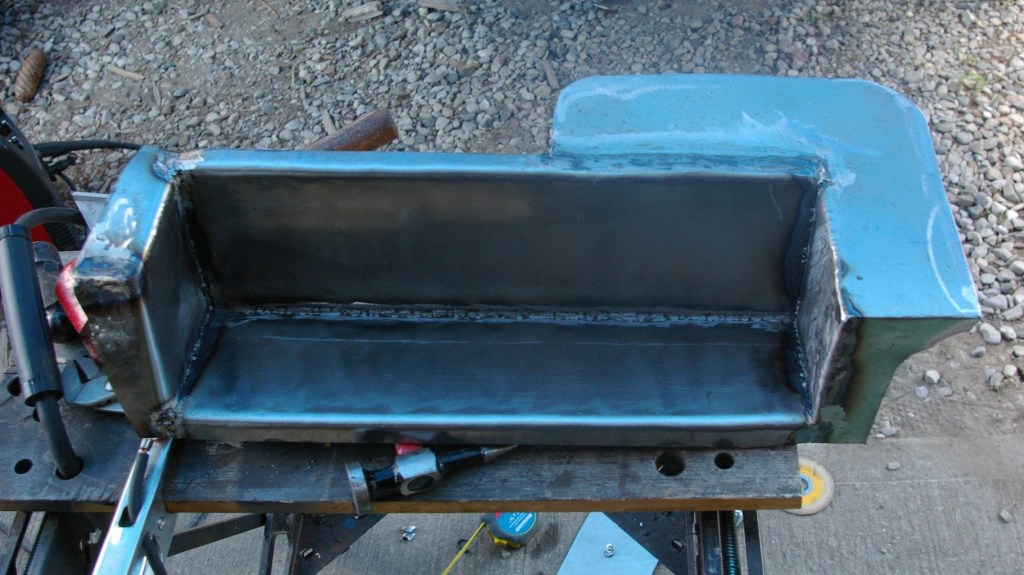
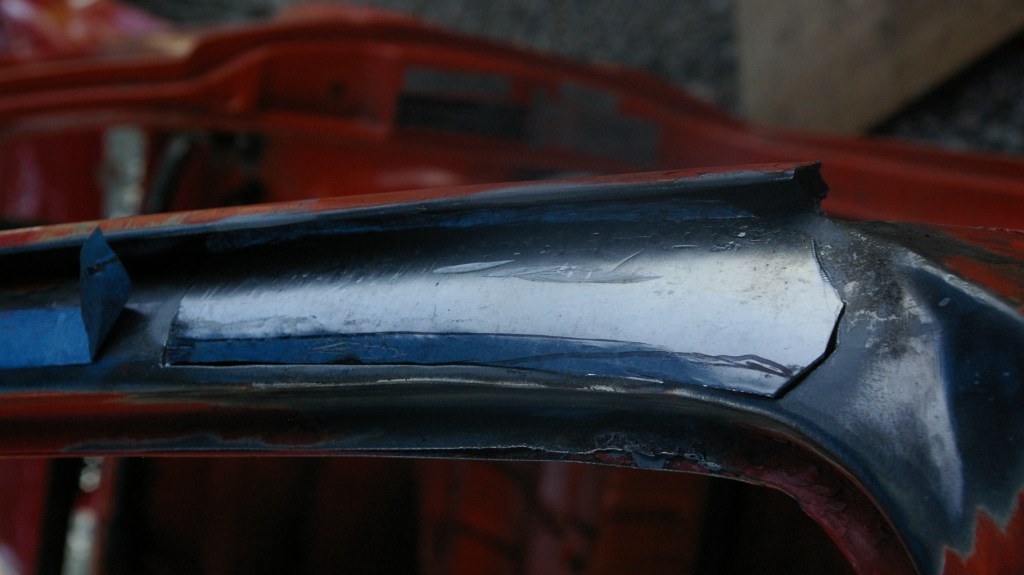
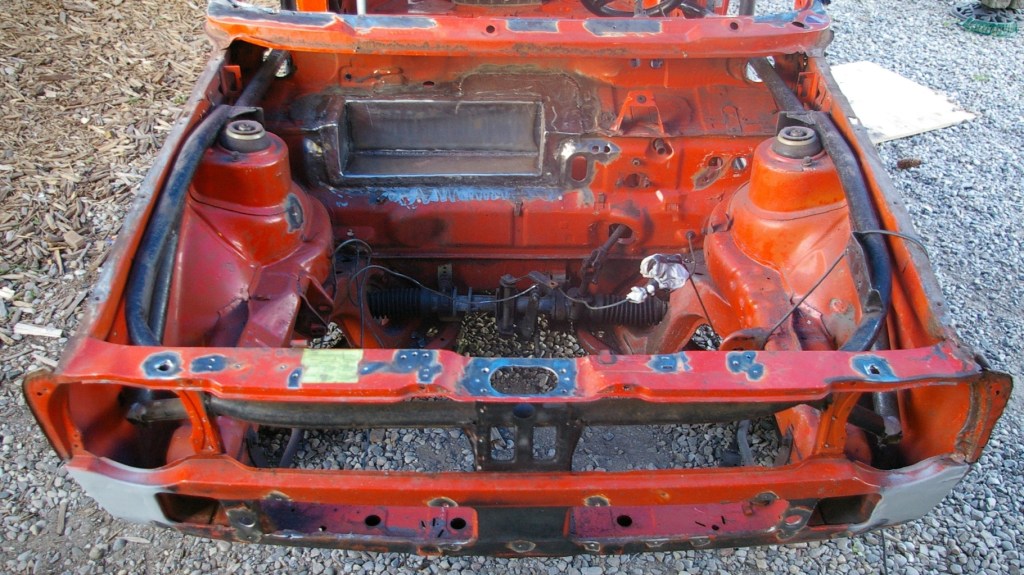
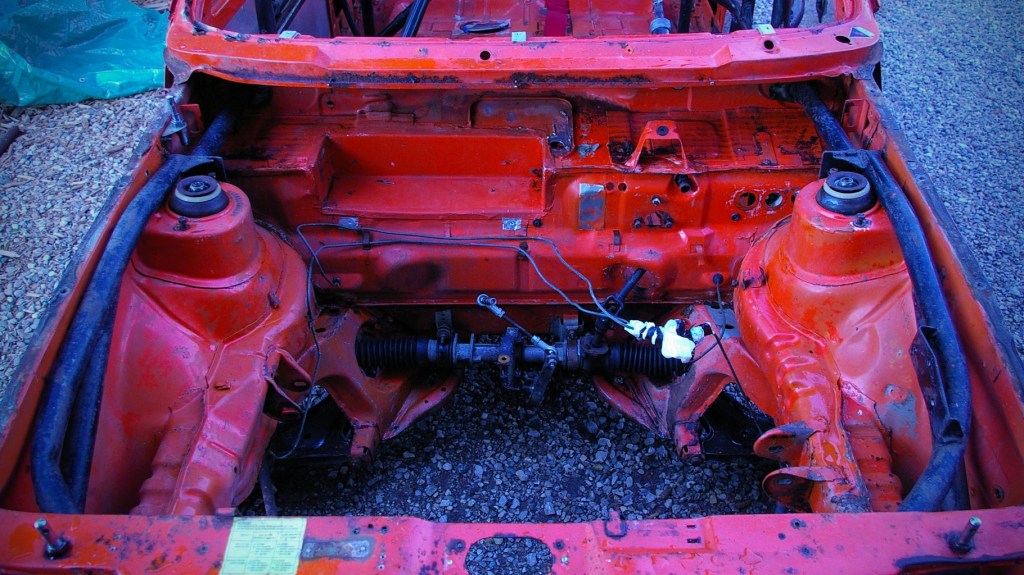
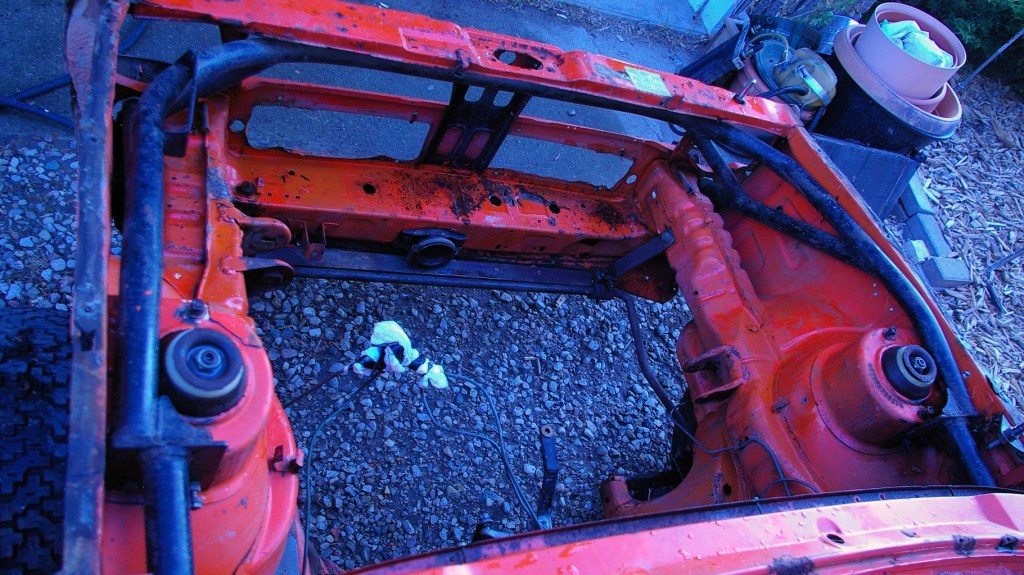
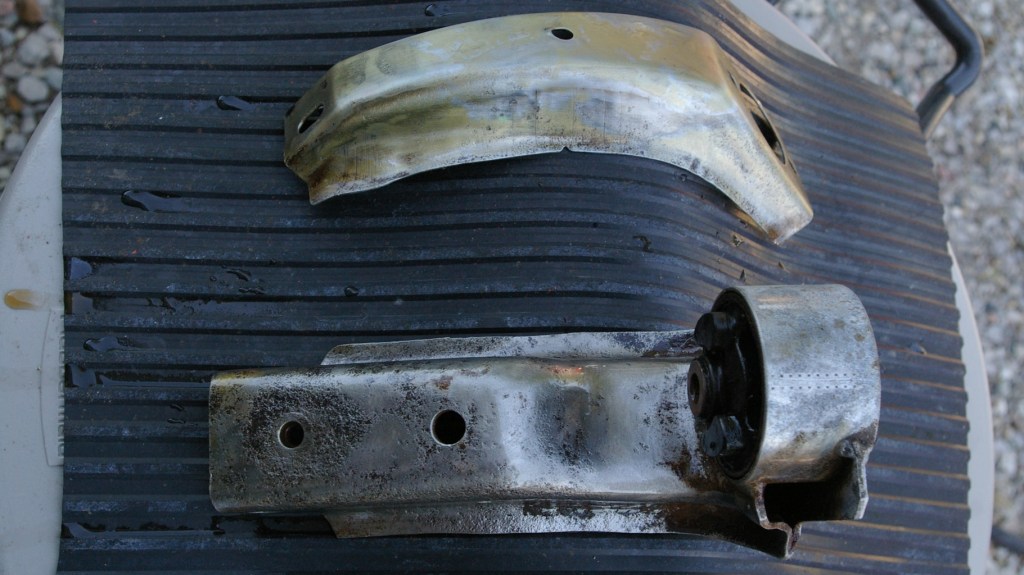
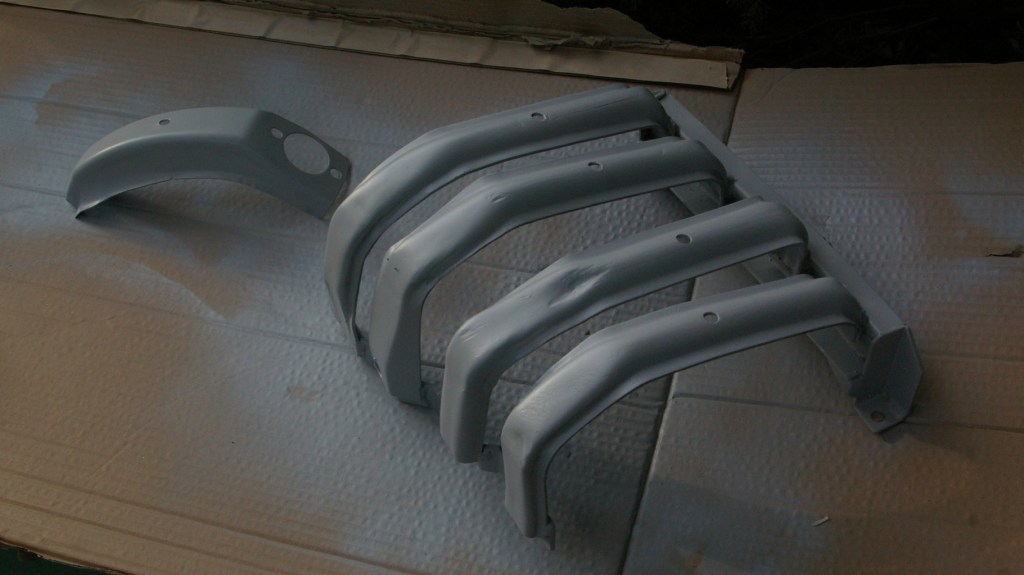
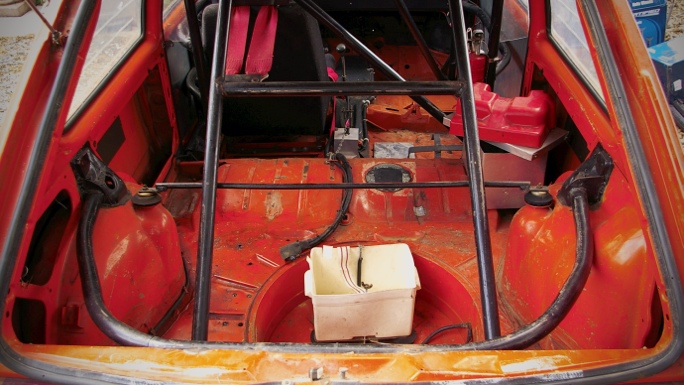
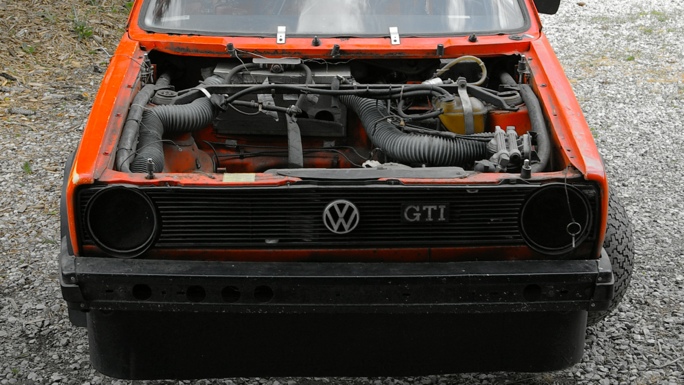
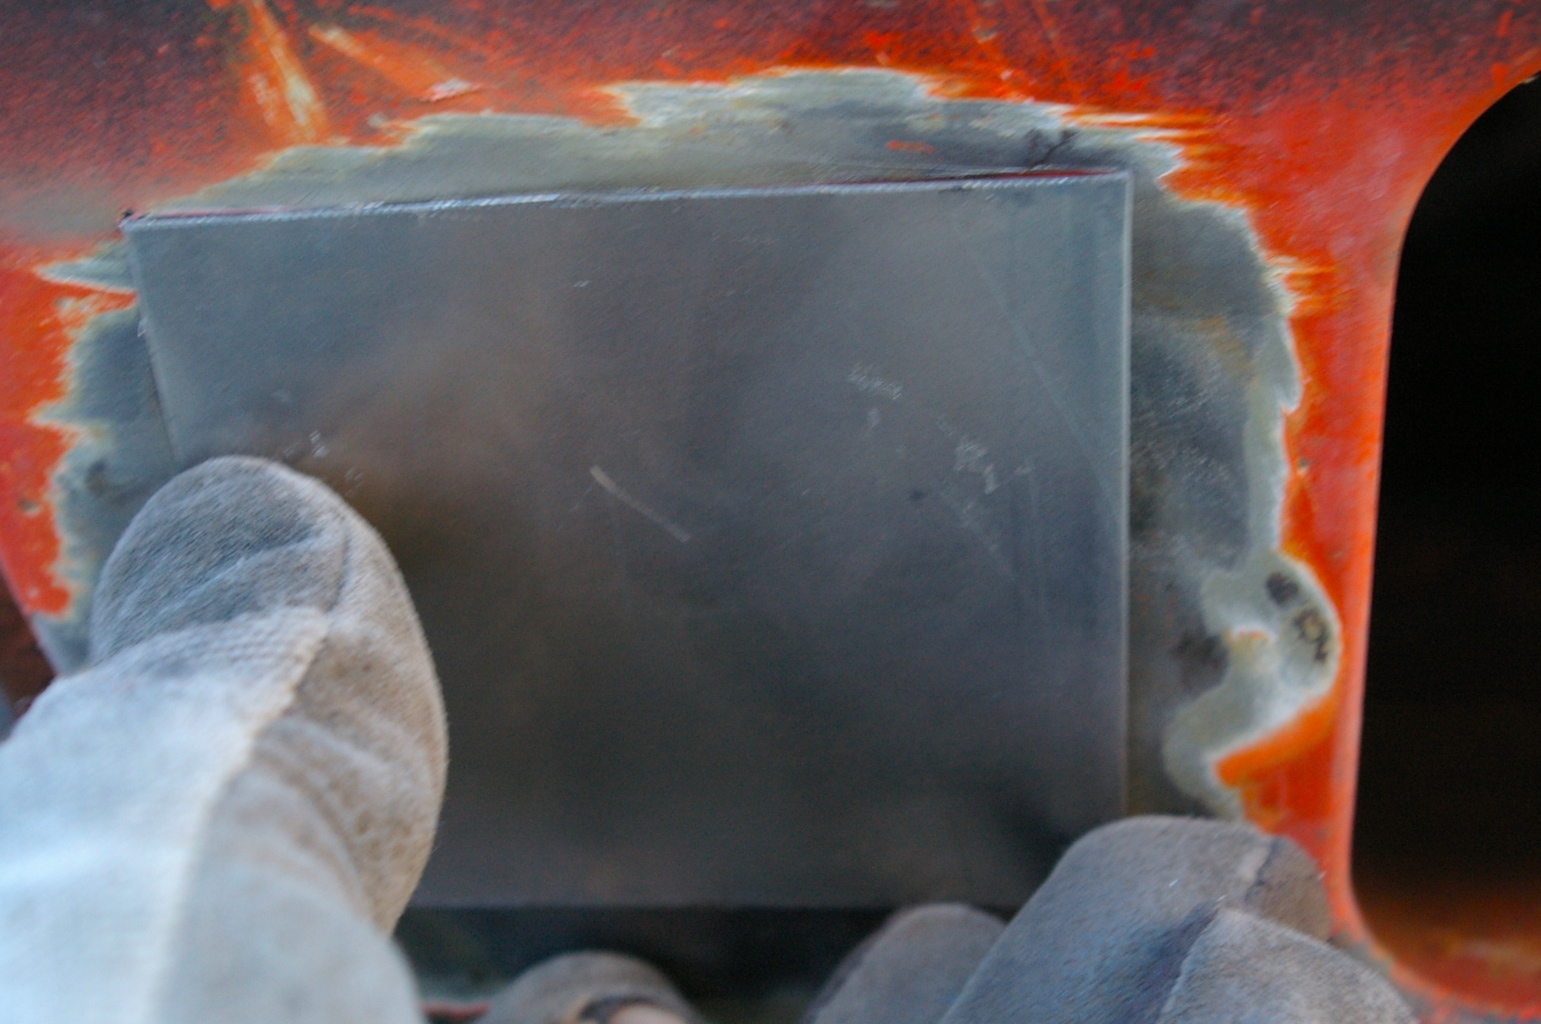
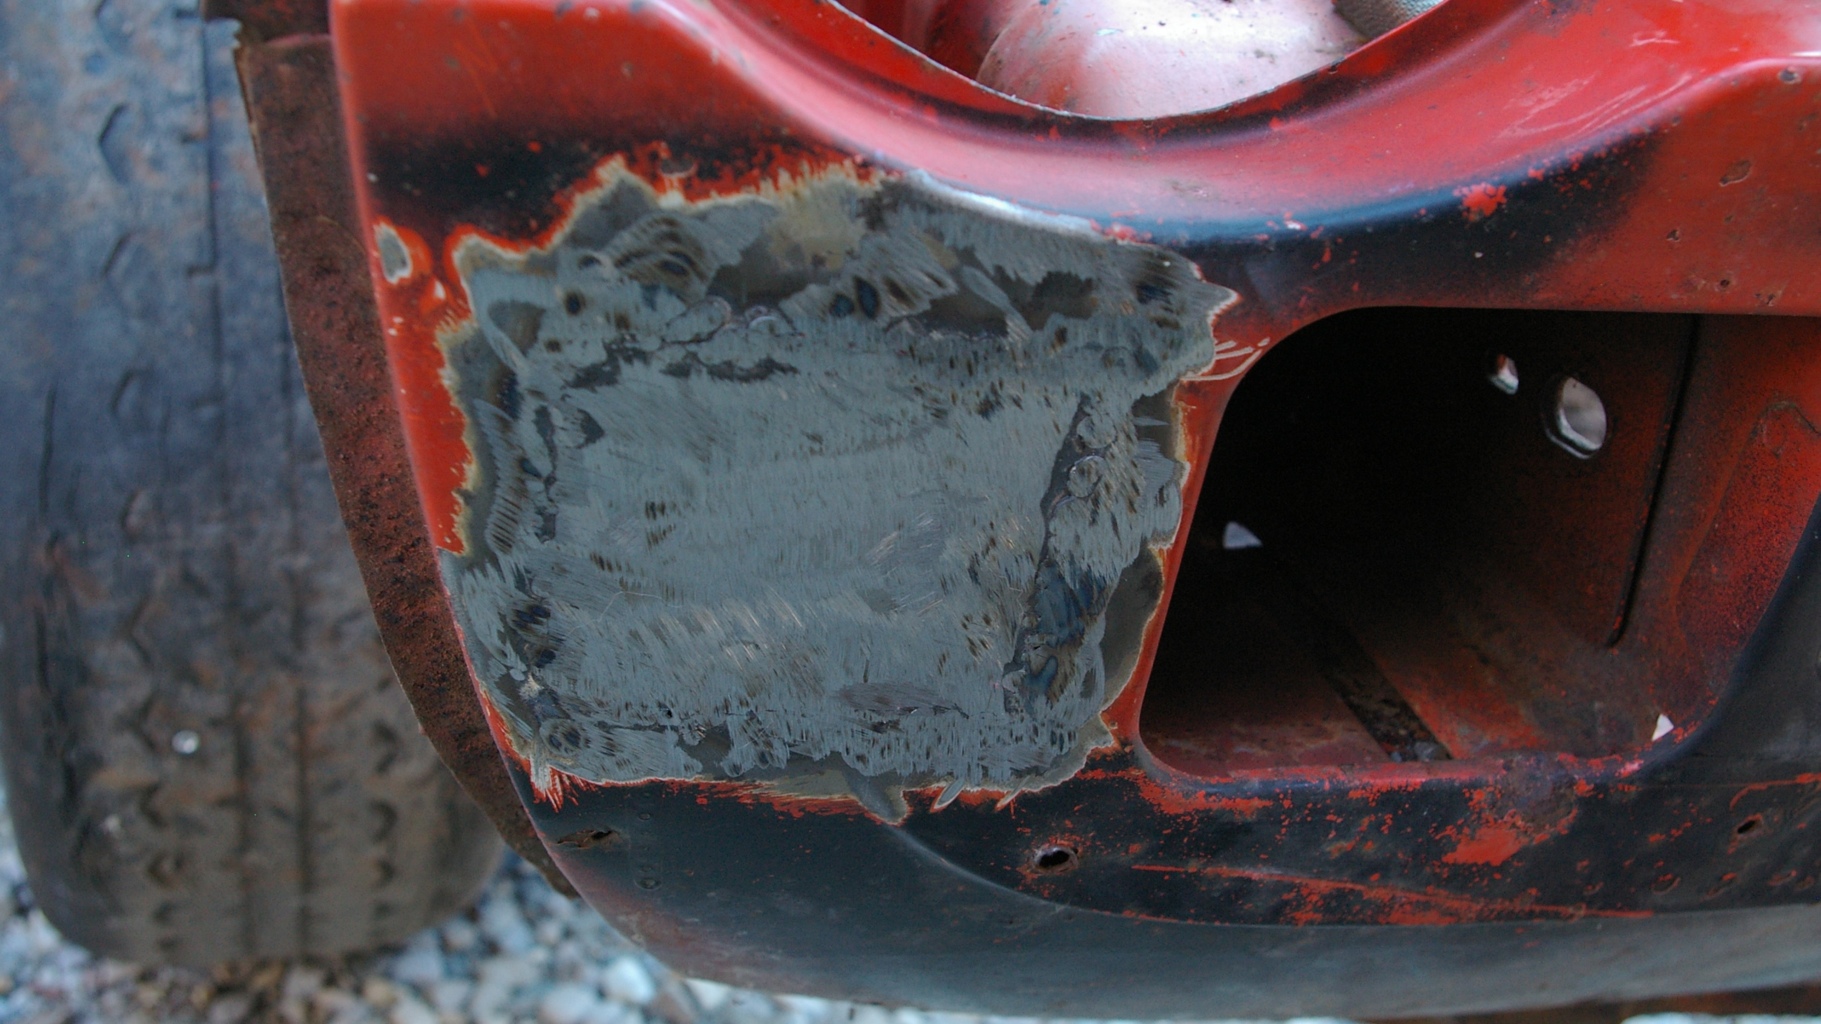
Having never welded before I was eager to start but hesitant because I didn’t really know what to expect. I figured I’d start with some patch work that was needed in the floor pans as ultimately they will be covered and never seen. Throughout the days work I noticed a big difference in the welds I was making, each set of welds I’d do would become more precise and ultimately easier to clean up with a lot less grinder action. Getting your welder dialed in a big part of making nice welds but i also found taking your time and making the metal filler pieces fit nice will help more than you may think. Having accomplished the floor patches with relative success I moved on to some exterior patch work that was needed in the front bumper area, and to my surprise they actually came out a lot better than expected and definitely gave me a little confidence boost when it comes time to do some bigger more complex sections.

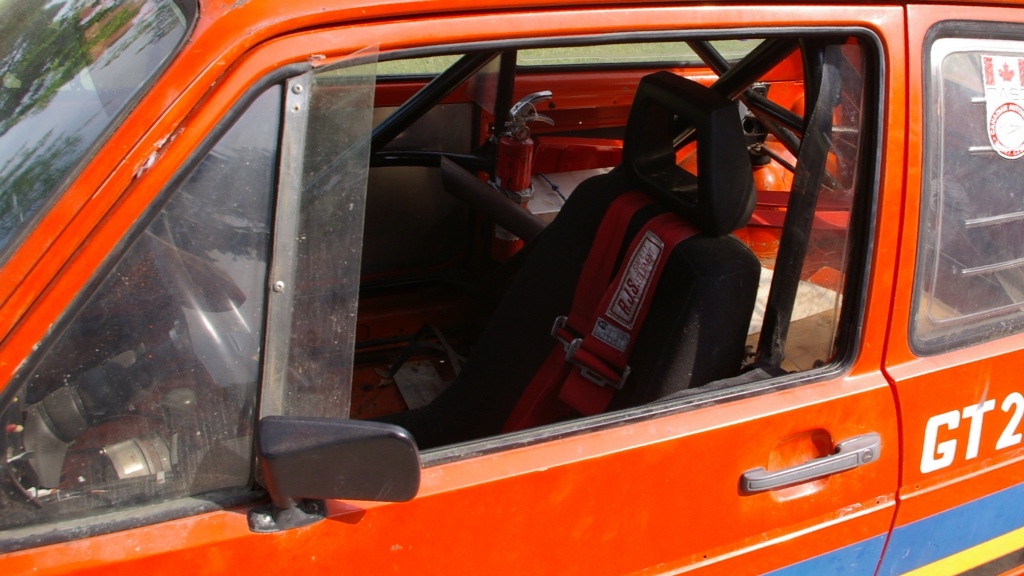
The seats I’ve chosen for the car are out of a much newer Mk3 Passat. Why? Cause the were really cheap..lol. The bases need to be modified to fit the car as they are slightly to wide. It was though finagling the seats into position as the roll cage is pretty unforgiving, once fitted into the car I hopped in to see if these seats would even be practical in this car. Luckily they adjusted to a decent driving position as well as being pretty comfy.

DIY Car Modification: The Engine

So far, I’ve mostly used an electric angle grinder and a Dremel tool. A good angle grinder is essential for anyone who likes DIY projects, so make sure to choose one that feels comfortable to hold. The Dremel is great for cleaning and refining parts of the engine and other items with small details.

I faced some challenges with the engine, like when I accidentally broke a spark plug, leaving the threads stuck in the head. I tried to use a number 5 screw extractor to remove the threads, but it needed more force. I carefully drilled it out with two different drill bit sizes without damaging the threads. After some careful work, I got it out. Then, I tackled the old injectors that were stuck. Since I’m converting the engine to use Weber carburetors, these injectors won’t be used. I’ll block off the injector ports with Canadian nickels because they fit perfectly.

The last problem was a bolt from the alternator bracket that broke. I’ll need to drill that out as well and retap it for a different size thread. I stripped down the cylinder heads, and after removing the camshaft and valves, I soaked all the parts in a degreasing bath overnight. After cleaning and scrubbing, and some work with the Dremel, I got the head and some smaller parts ready for painting. Overall, I found the process a bit overwhelming when issues came up, but by taking my time and doing my research, everything worked out, and I learned a lot.

DIY Car Modification: Metalwork and more Welding.

The carbs Are mounted facing the fire wall on these 8v engines, because of this its nice to create a relief box to give you a little more room to work as well as some more clearance so the carbs don’t mash themselves up into the fire wall when the engine torques back during acceleration.  Some areas were also prepped for welding as well as a piece was made to repair the driver side A-pillar. Rust, rust, and more rust, did i mention rust. oh yeah and rivets galore, like they they were going outta style. the term Scope Creep is starting to come to mind.

DIY Car Modification: Polishing Aluminum Handles

I’ve done a lot to the car recently; I removed the doors and trunk lid, cleared out the engine bay, and started modifying the roll cage for two passengers. I was surprised by how clean the engine bay looked after a degrease and pressure wash, which got me excited for future work. I plan to smooth out some surfaces and cover holes that aren’t needed anymore. I also cleaned some engine mounts, brackets, and an oil pan guard, treated the rust, then primed and painted them.

The door handles on this car were originally painted black and made from solid cast aluminum, giving them a nice weight. I wanted chrome handles but didn’t want to spend a lot on metal ones or buy cheap plastic. So, I decided to polish the original handles. To my surprise, they turned out much better than I expected, and I saved money.

I started by taking the handles apart and cleaning them. I hand-sanded them with 220 grit sandpaper to remove the paint, then used 400 grit dry sandpaper, followed by wet sanding with 400, 600, 1000, and 1500 grit sandpaper in that order. After sanding, I used a Dremel tool with a felt disc to polish the handles with aluminum polish.

While going through some parts I got with the car, I found chrome inserts that could fit into the handles. I carefully cut off some tabs and used epoxy to attach them. They look good, reflecting light differently than the polished aluminum. They aren’t perfect, but I can replace them later if I find a better set.

Weber bonus shots.

Weber Internals

I did the initial cleaning before opening the carbs for the first time. This minimized the chance of some foreign partials getting in and blocking up one of the many passageways. The pieces within the carbs may look small and fragile but hey are all actually quite robust.

So very intricate internally, though when you break it down and understand what that parts are doing it’s actually quite simple.

Weber DCOE

When I found this car I was pleased to find that it had previously run various sets of Weber dcoe carbs. I thought this couldn’t be more perfect. This is something I had always known I’d wanted to do, I love the look of it when mounted on the engines, there’s just something so raw about it, and the intricacies in the tuning is something I’d love to learn. Many prefer the look of these on a 16v since they face forward, so their much more ‘flash’ and in your face, more aggressive looking. On the 8v motor I plan on using the carbs are mounted facing the fire wall, so facing the rear of the car. When you pop the hood and look in it might take a second to realize that yes indeed there is something a little different under the hood. I decided that a set of 40s he had would be a good choice for the engine as well as street ability. Having been wrapped in oiled rags for quite a while they needed a good once over. I prepared a cleaning station and proceeded to clean the exterior with good old gasoline. Nothing cuts through the tough grime quite like it. Once the exteriors were washed I removed the jetting to check condition as well as give them a bath in gas and a good shot of compressed air. I will be doing a more thorough rebuild once I receive some parts that have been ordered. There were a few bits and pieces missing and I wanted to refresh all the o-rings and gaskets. Still debating what style linkage to use as well as what style air filters.

Enjoy.

Rim refinishing.

When I first started thinking about this project, I started to try and narrow down what the final outcome might look like with different wheels. I’ve thought about many, and will probably change them many times more. I like the idea of refinished original wheels. There are so many great VW wheel designs form over the years these cars were produced. I managed to find a decent set of “p-slot” wheels. They weren’t perfect and needed a real clean up, fortunately they had already been polished once before so a lot of the grunt work had been done already.

I started by washing and scrubbing them with some good degreaser after which I sanded the unpolished parts with a few different grits of sandpaper suitable for paint prep. I then used a Dremel tool and cleaned out the hard to get spots. Once cleaned up i masked the face of the wheels and cut out the slots. Before paint i cleaned the wheels with acetone and then used a tack cloth to remove any remaining dust. I then sprayed a few coats of a primer filler combo which i sanded down to a smooth finish. Once drying was complete, I made sure the wheels were dust free again and continued with a few coats of a really dark gray that has some metallic flake in it, after that I sprayed a few on coats of clear. With the painting fished I began the polishing process. Wet sanding, with various ultra fine grits and then polishing with some metal polish until they become mirror like. For the center caps i found that a few other people have modified original VW chrome centers to fit into these wheels. I really liked this look so I’ve set about investigating how its done in order to do the same.

A Fine Tooth Comb.

I got to go through the car really thoroughly this past weekend. I found a few surprises and also gained a little confidence in the project at the same time. I started to strip the car down, dismantling things like window trim, lighting and general bits and pieces throughout the interior and exterior of the car. At the moment the car is set up for only one person. I’ll have to make some modifications to the roll cage system so as to allow for a passenger. Removing the windows was actually very easy as they were all plastic racing windows, the front window was a bit tricky as it was still the original glass. I plan on restoring the plastic windows if possible to have as an option to put in for the future, or maybe sell if the right buyer comes along. The car definitely needs some love, for the most part though it’s in pretty good shape for its age, as well as comparatively to what you usually come across when searching for theses cars.

This Thing is Minty Fresh.

My intent is to restore and customize this Rabbit racer into a unique one of a kind road going summer driver. Only problem is I have no real previous experience when it comes to automobiles. So there in lies the problem you see. I do have a pretty good understanding of things like voltages, electrical circuts, fabrication, refinishing, all of which were self taught. So i believe that with the resources available today it shouldn’t be to hard to teach my self this new skill set.

I wanted to document the entire process, mostly for posterity sake. It would be a total bonus if someone can learn or become inspired to do something because of this. I will try and describe the techniques I learn and the processes used throughout the restoration. Pictures – O – Plenty there will be.

Thanks for tuning in.