Continuing from where I left off the last time I worked on the car I needed to finish up some some smaller details that although small in nature still need to get done. ‘Small things’ signify a great leap forward though, a departure from the large tasks and the eventual ‘next step’ looms ever closer. When i started this car many moons ago it had a direction. That direction has changes and morphed over the months and I imagine it will until the day its done. I initially wanted to do every aspect of the build, I even wanted to strip and paint the car myself. The more I dug into it the more I realized that for the end result that I’m looking for I just don’t have the space for the proper facilities. Grateful for the space I already have to work on it I decided to let the pros media blast and epoxy prime the car come time, rather then try and do it my self. Its the old Time vs. Money adage and in this case its the Time vs. Money + Space at premium conundrum. I believe though that in the end the final product will be better off for it and I will save a lot of time, moving the project forward at a little bit of a faster pace. So with that decision made its now the little bits, the finishing touches on the general metal work that signify that the next phase is very much around the corner. And that folks is pretty darn exciting. So on with it!
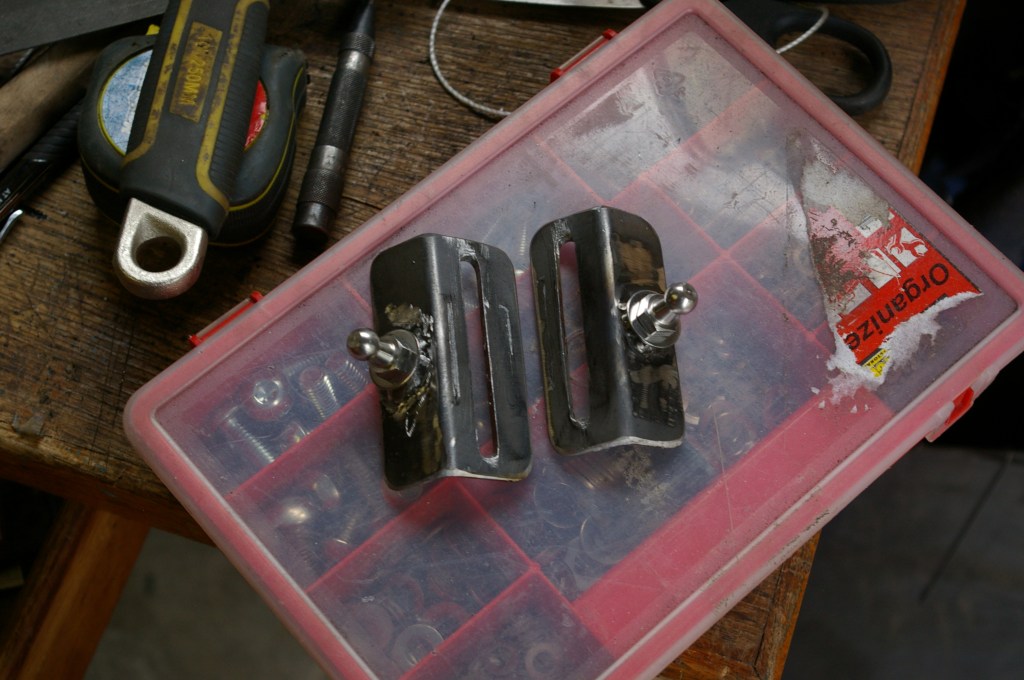
AreoCatch Hood Latches.
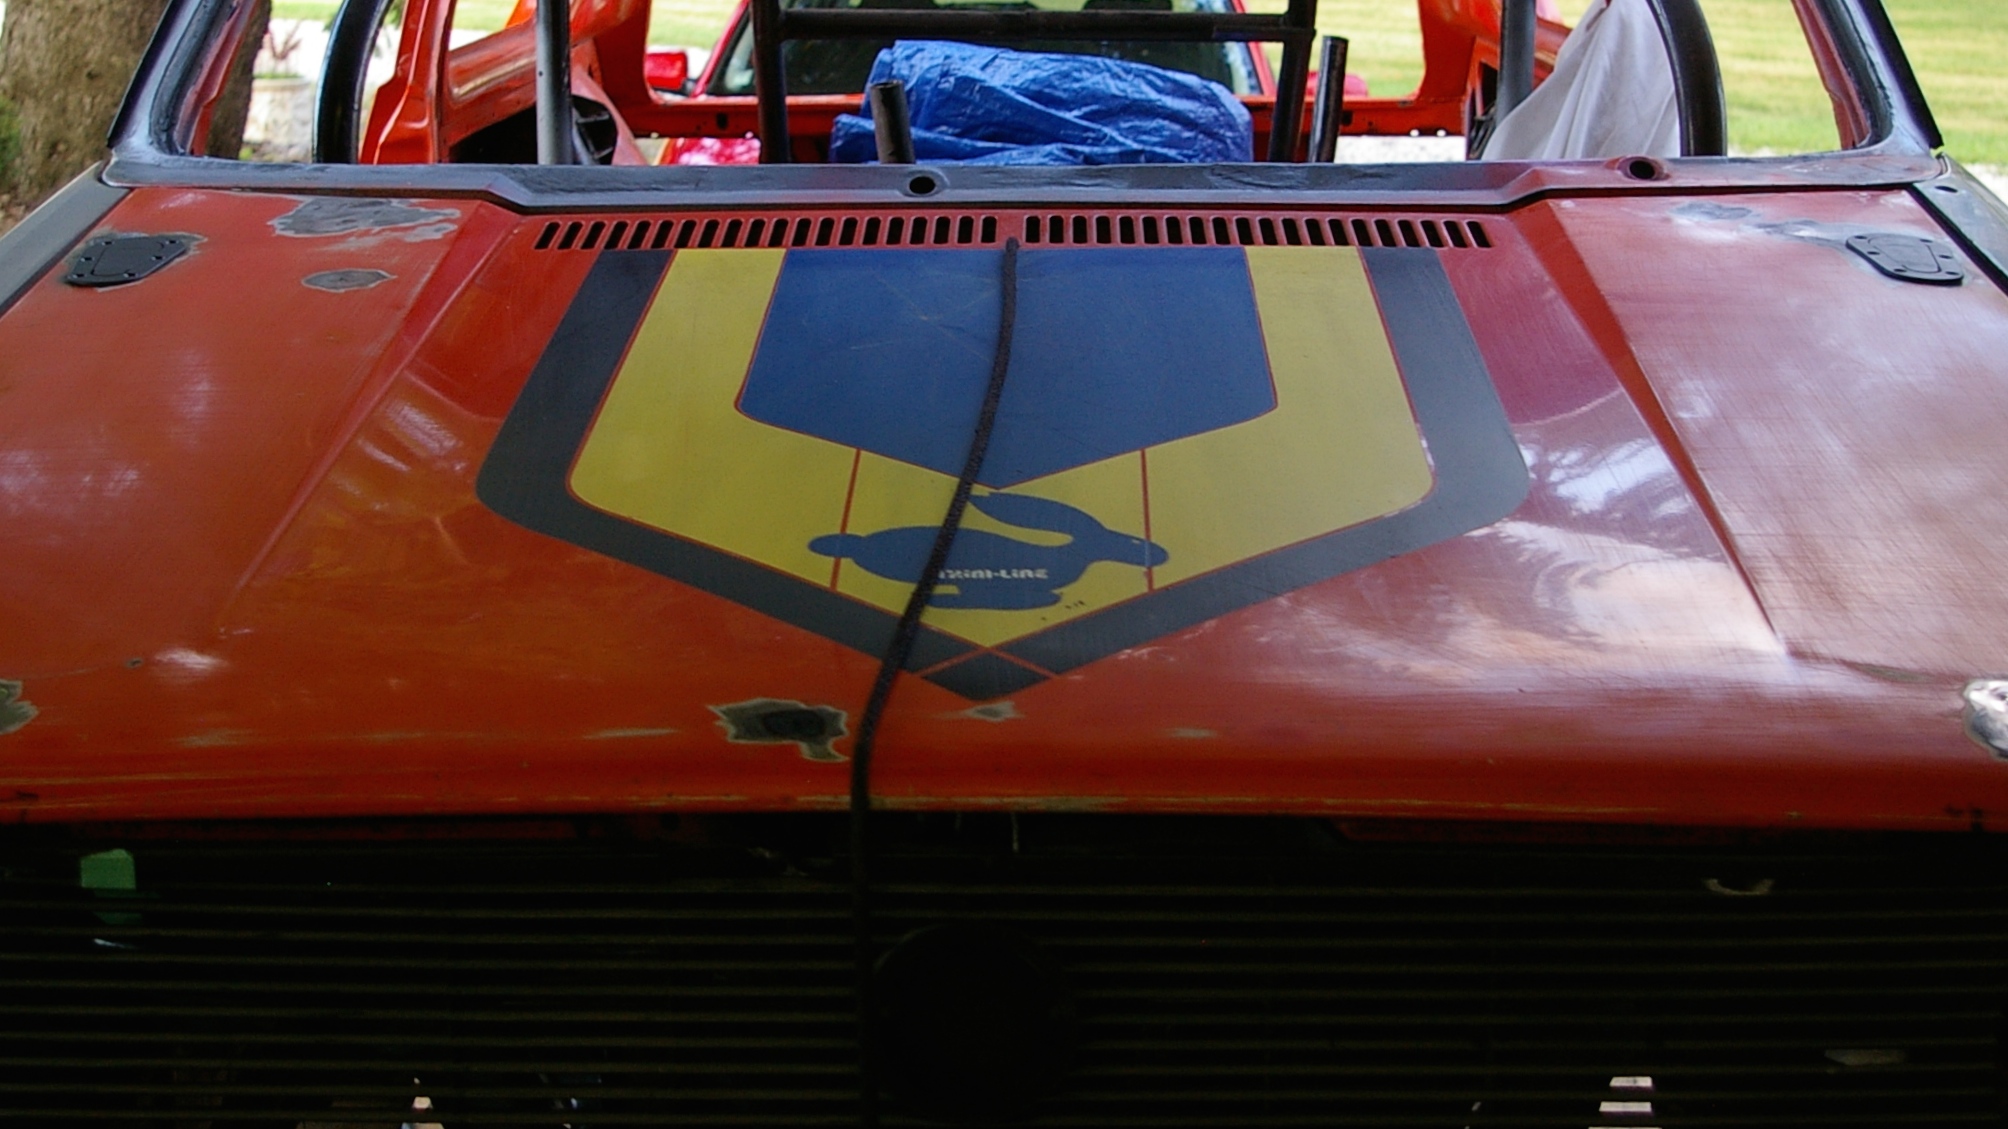
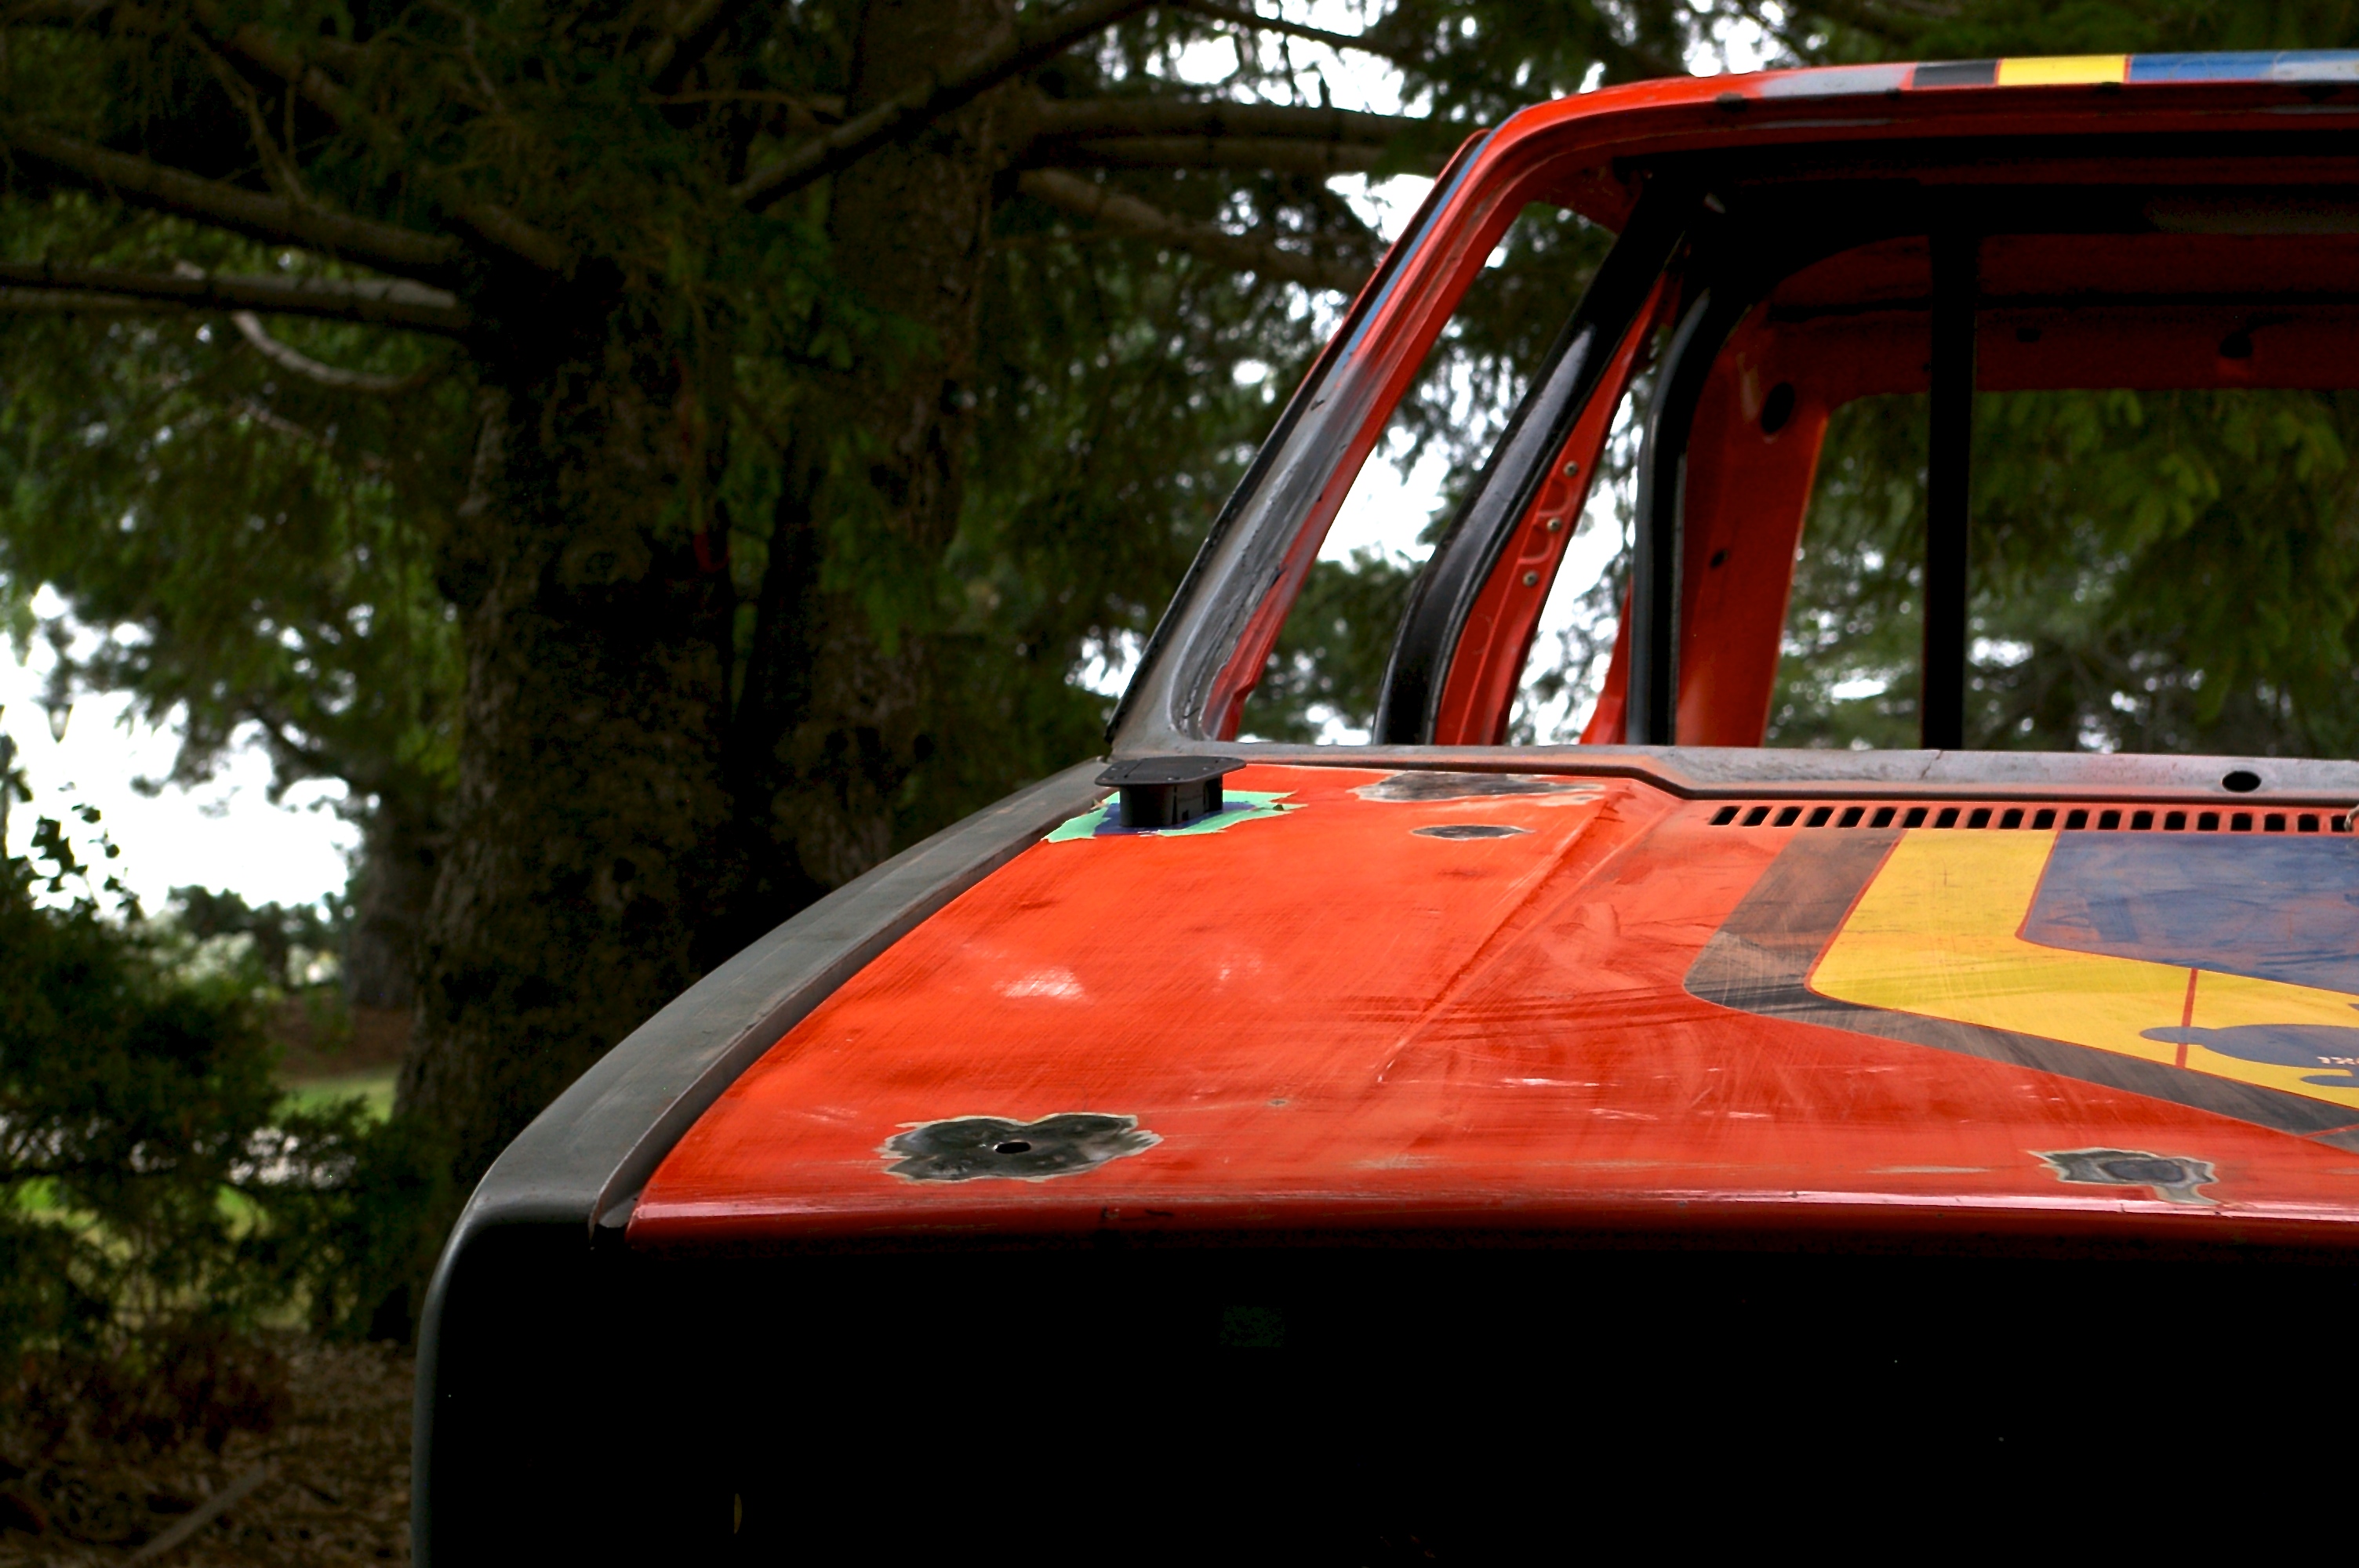
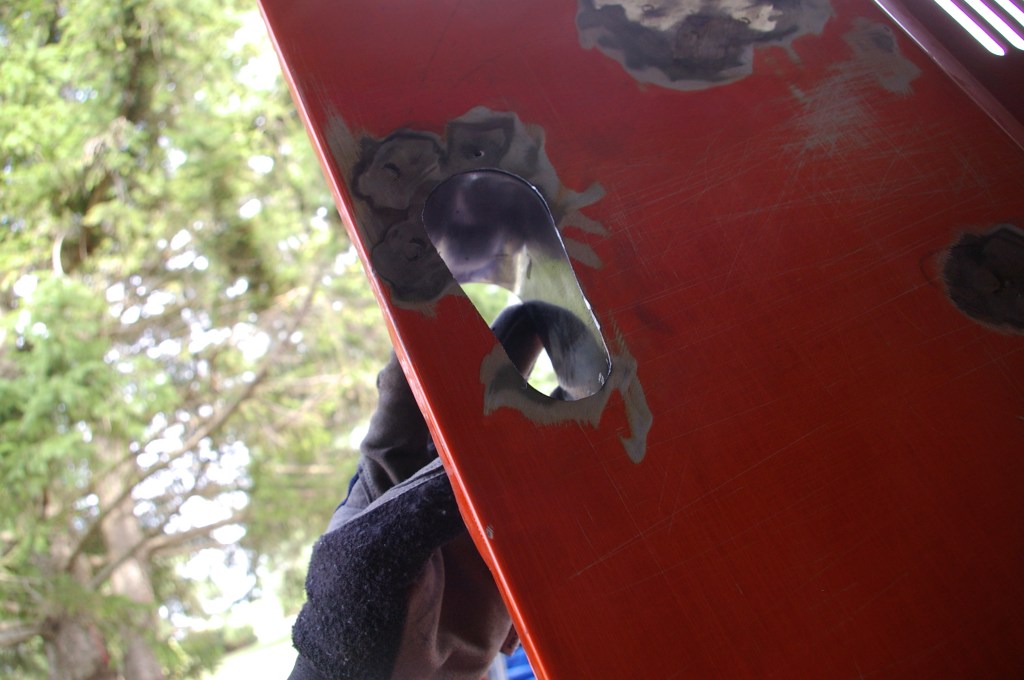
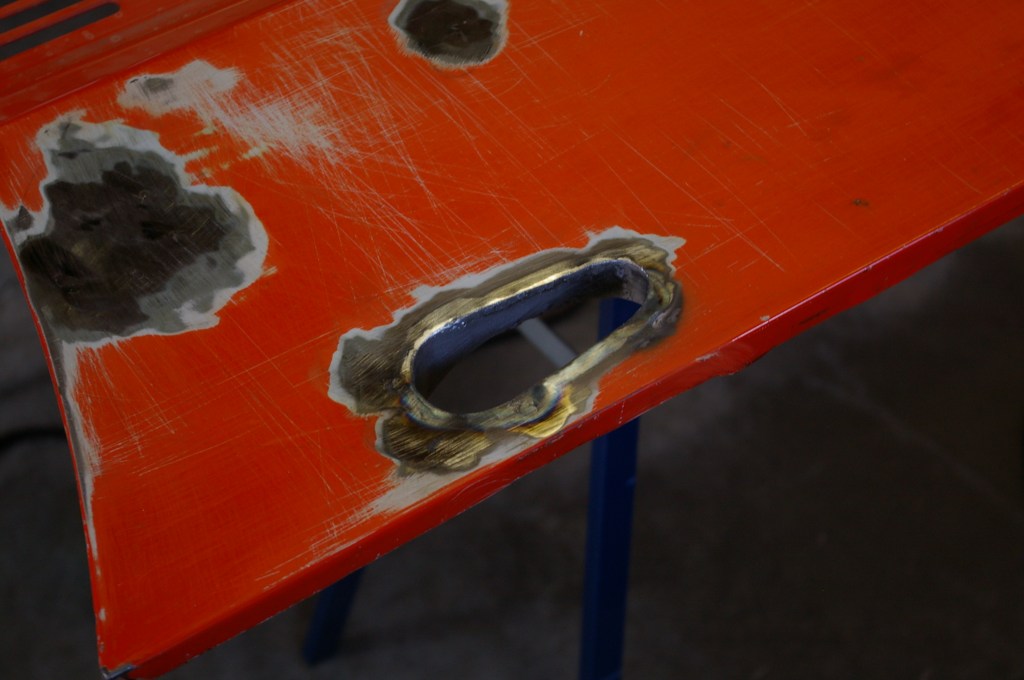
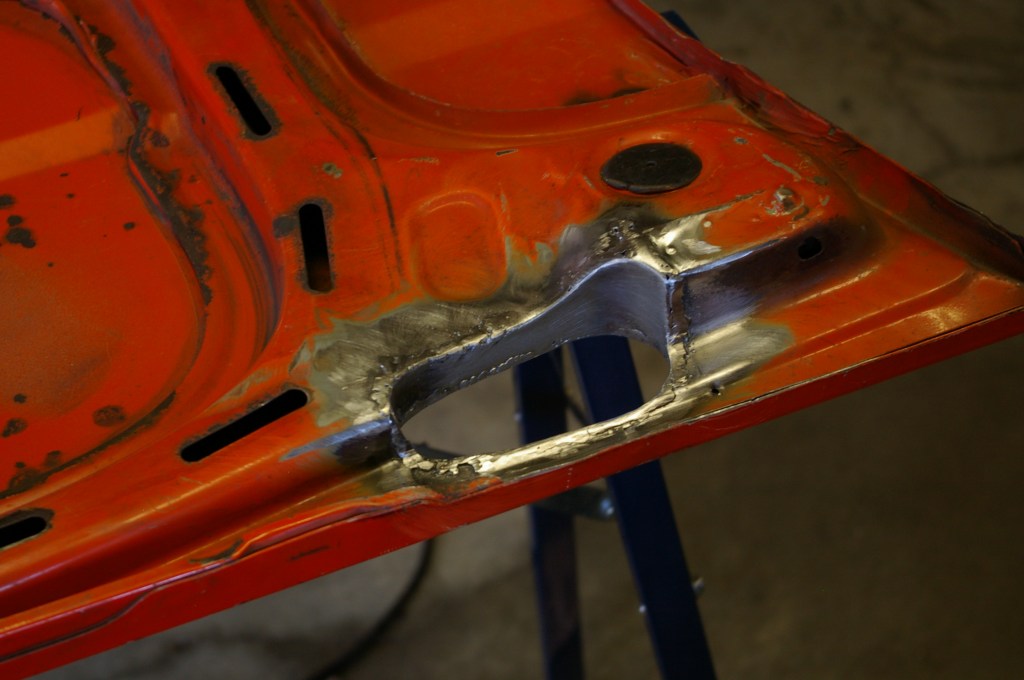
After converting the hood to a forward open hood I needed to come up with a new solution to secure the hood as the previously installed hood pins really only work if your going to lift the hood off completely, which is not the easiest thing to do by your self time and time again. After some internet time I came to these flush mount style by AeroCatch. I decided that rather then cut a hole and leave the two sheets of sheet metal that make up the hood loose I would weld up some inserts to make a proper insert hole for the AeroCatch to mount into. Welding some capture nuts into the hood as well rather then using the supplied Nylock nuts for a more secure fit.


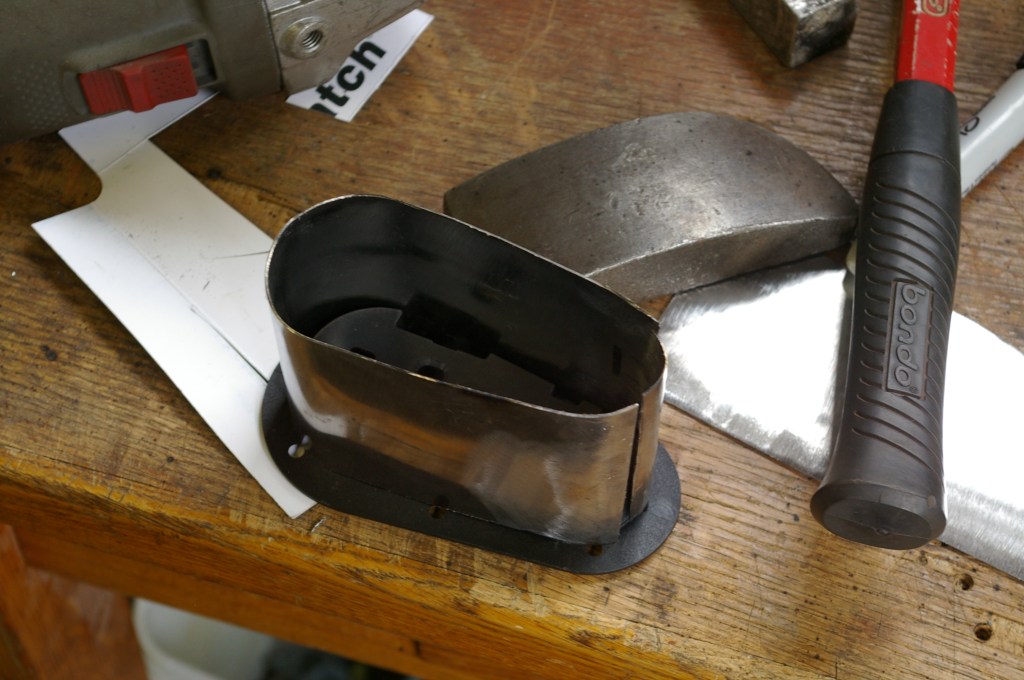
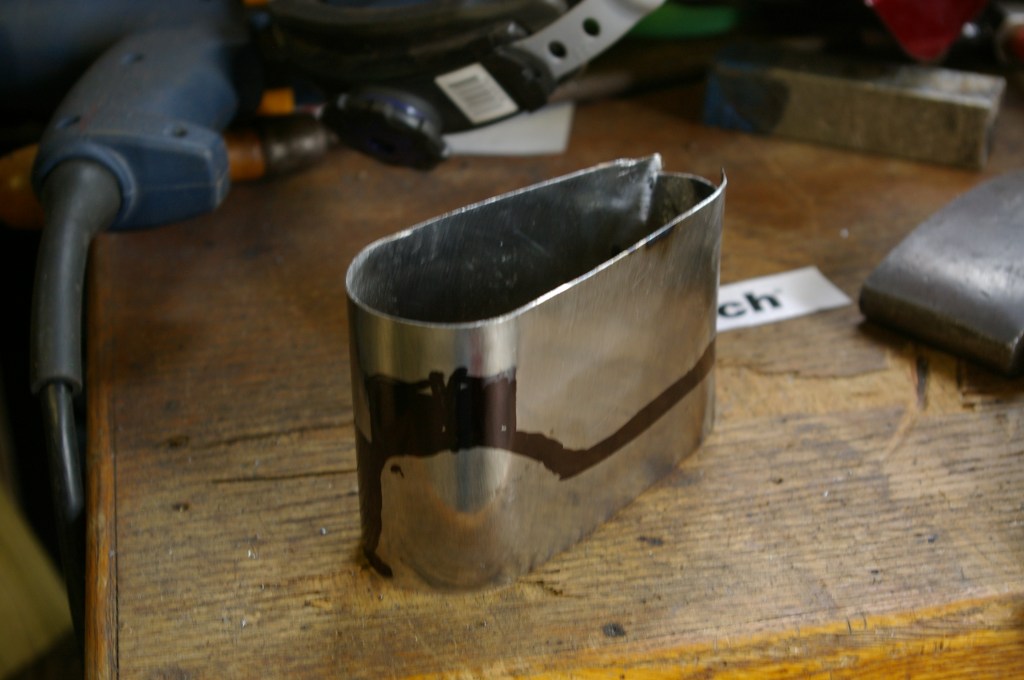

Making The Tools You Need.
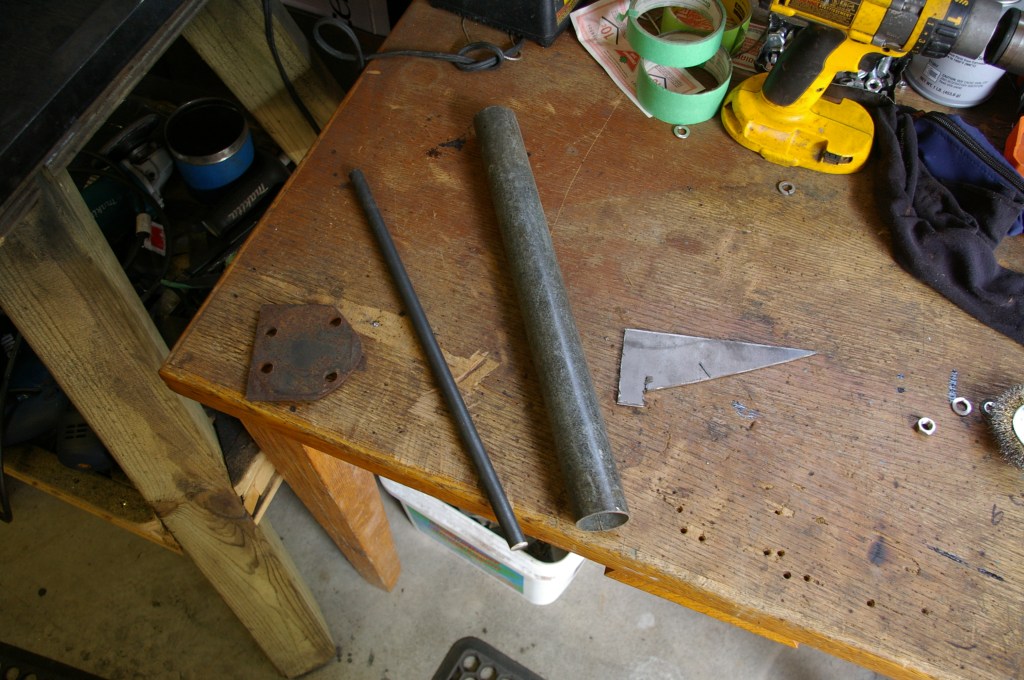

I needed a dent puller to pull some smaller dents and fix some areas of the hood and such around the car. I thought about buying one but when you break it down to its simplest part its pretty easy to make one from some scrapes laying around. And if you think about it the first person to think of something like this couldn’t buy on and had to make one for them self. A dent puller works like this, the pointy end gets tack welded to the car, the user then grips the sliding sleeve and swiftly or gingerly depending on desired results strikes up to the top plate pulling the dent out. Sometimes in one pop, other time not. So the larger top plate is used as a end stop to bash the sliding sleeve onto and the lower smaller plate stops the pin from flying out when your weld breaks on and up strike. Without it the pin and top plate would fly from the centre of the sleeve across the room.
Engine Update.

Not much to report here other then I got some threaded rod to make some studs to mount the intake manifold with. The manifold for the Weber Carbs needs some pretty long studs and finding them in the right length and thread proved to be difficult so I decide to make some.
Last But Not Least.
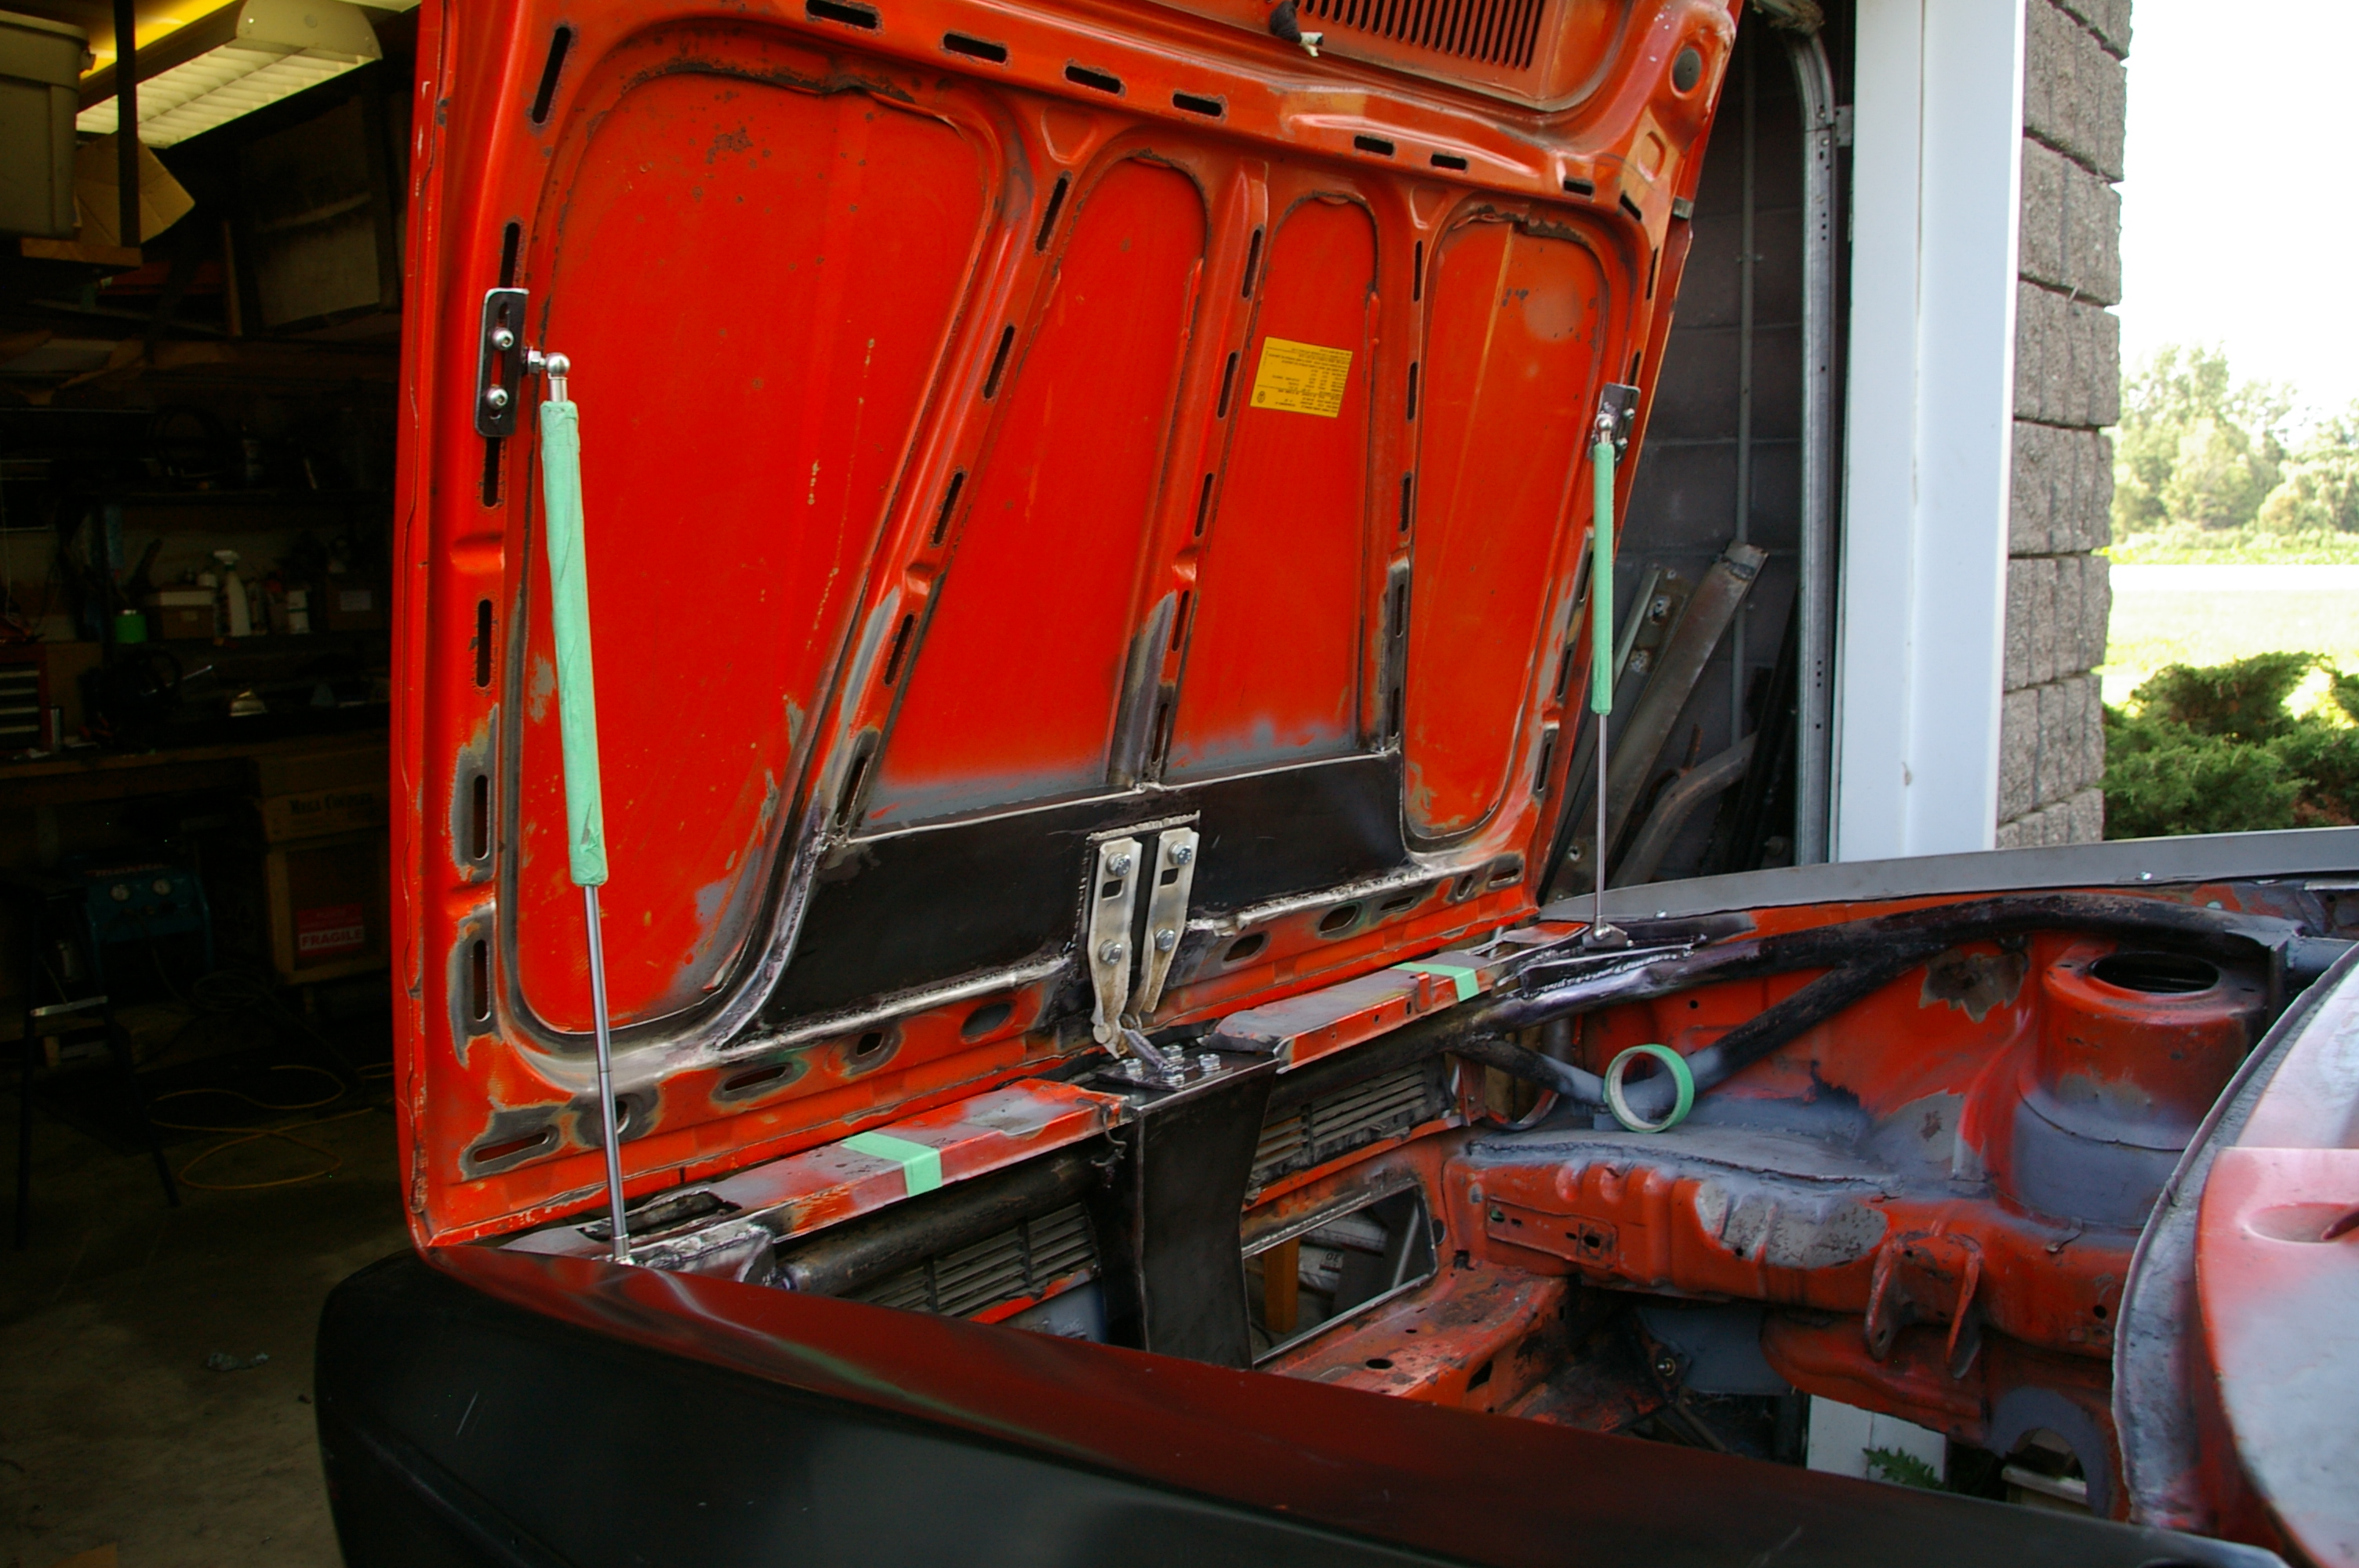
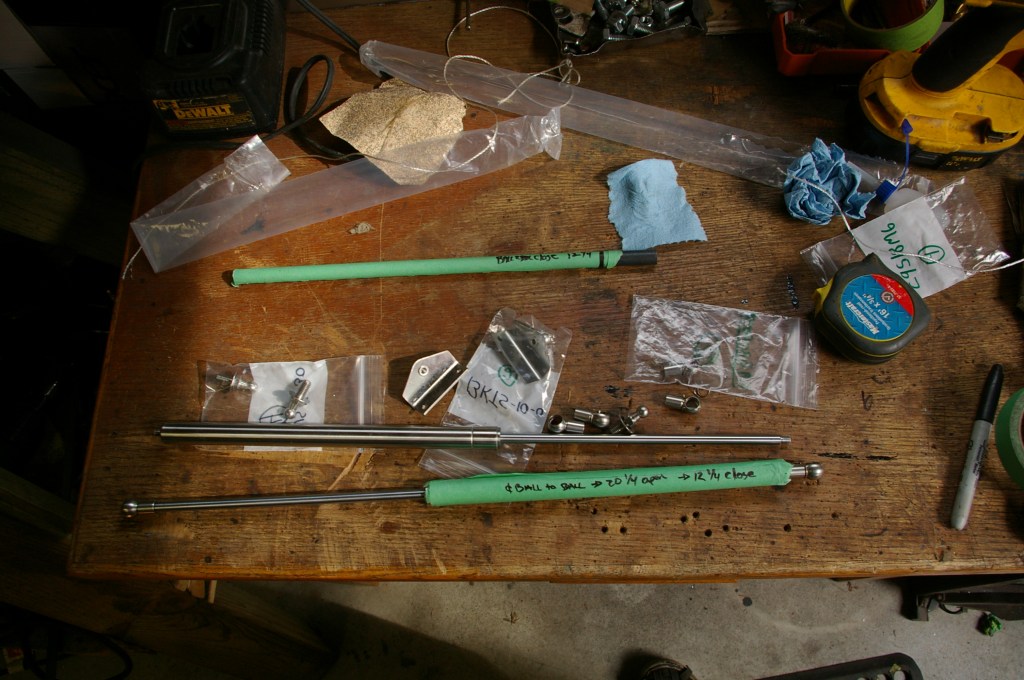
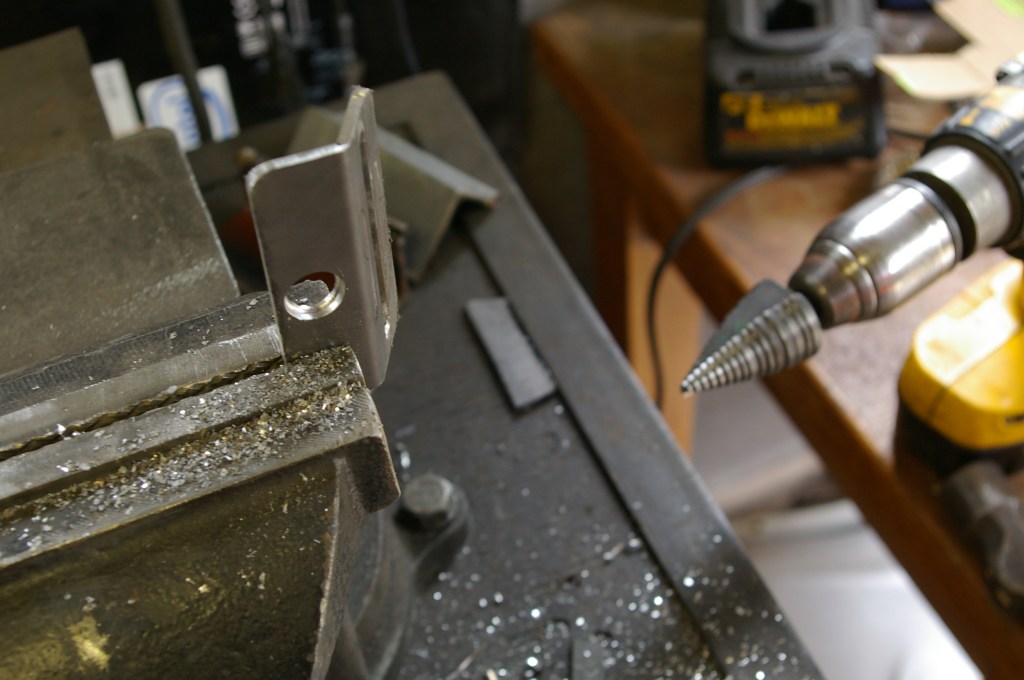
I got some gas struts for the hood. Their purpose is two fold. To add lateral stiffness to the centre mount hinge and to assit in opening and closing of the hood. I found a place this side of the boarder http://www.lstechnologies.ca they were able to custom make a set for this application. Length, pressure, fittings, material, its all customizable and they were great in helping me out with things like the correct gas pressure for this application. I chose to go with all stainless steel as it should fit nice with the other brushed and polished metals I plan on incorporation into the build.


The Second Pass.
When i first started the metal work I started at the front of the car and worked my way around fixing and patching metal as I went and saw fit. The above work has completed my journey around the car for the first time. Now its time for the second pass. I will make another pass around the car fixing anything i may have missed and giving everything its final once over. This should end this phase of work and I will be able to send it out to be media blasted and then epoxy primed after which I will start the task of body filler and block sanding. I see a lot of dusty work in my future yet in some ways I look forward to the departure from the grease and metal dust of fabrication and welding. One step closer to completion.
