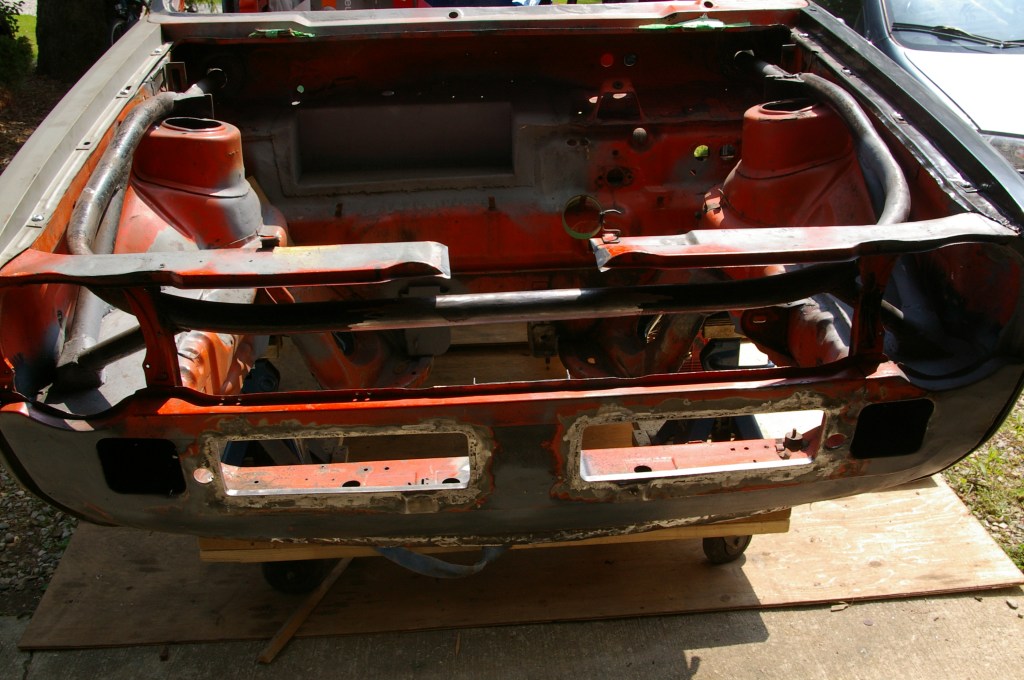
Getting back to it and getting it done one step at a time. It seems that every time i dig back into this project the list of to-do’s grows larger and larger, none the less by the end of this past weekends worth of work i felt accomplished with a new direction and motivation. For far to long i was just grinding and wire wheeling my way to insanity, it was nice to change it up and work on something that gives you more functional satisfaction rather then just doing a job because you have to in order to move to the next step. Right! lets get to it then. First lets start with a little job to get back into the swing of things followed by some ‘fail’ and then some ‘wins’.
Time-Serts.
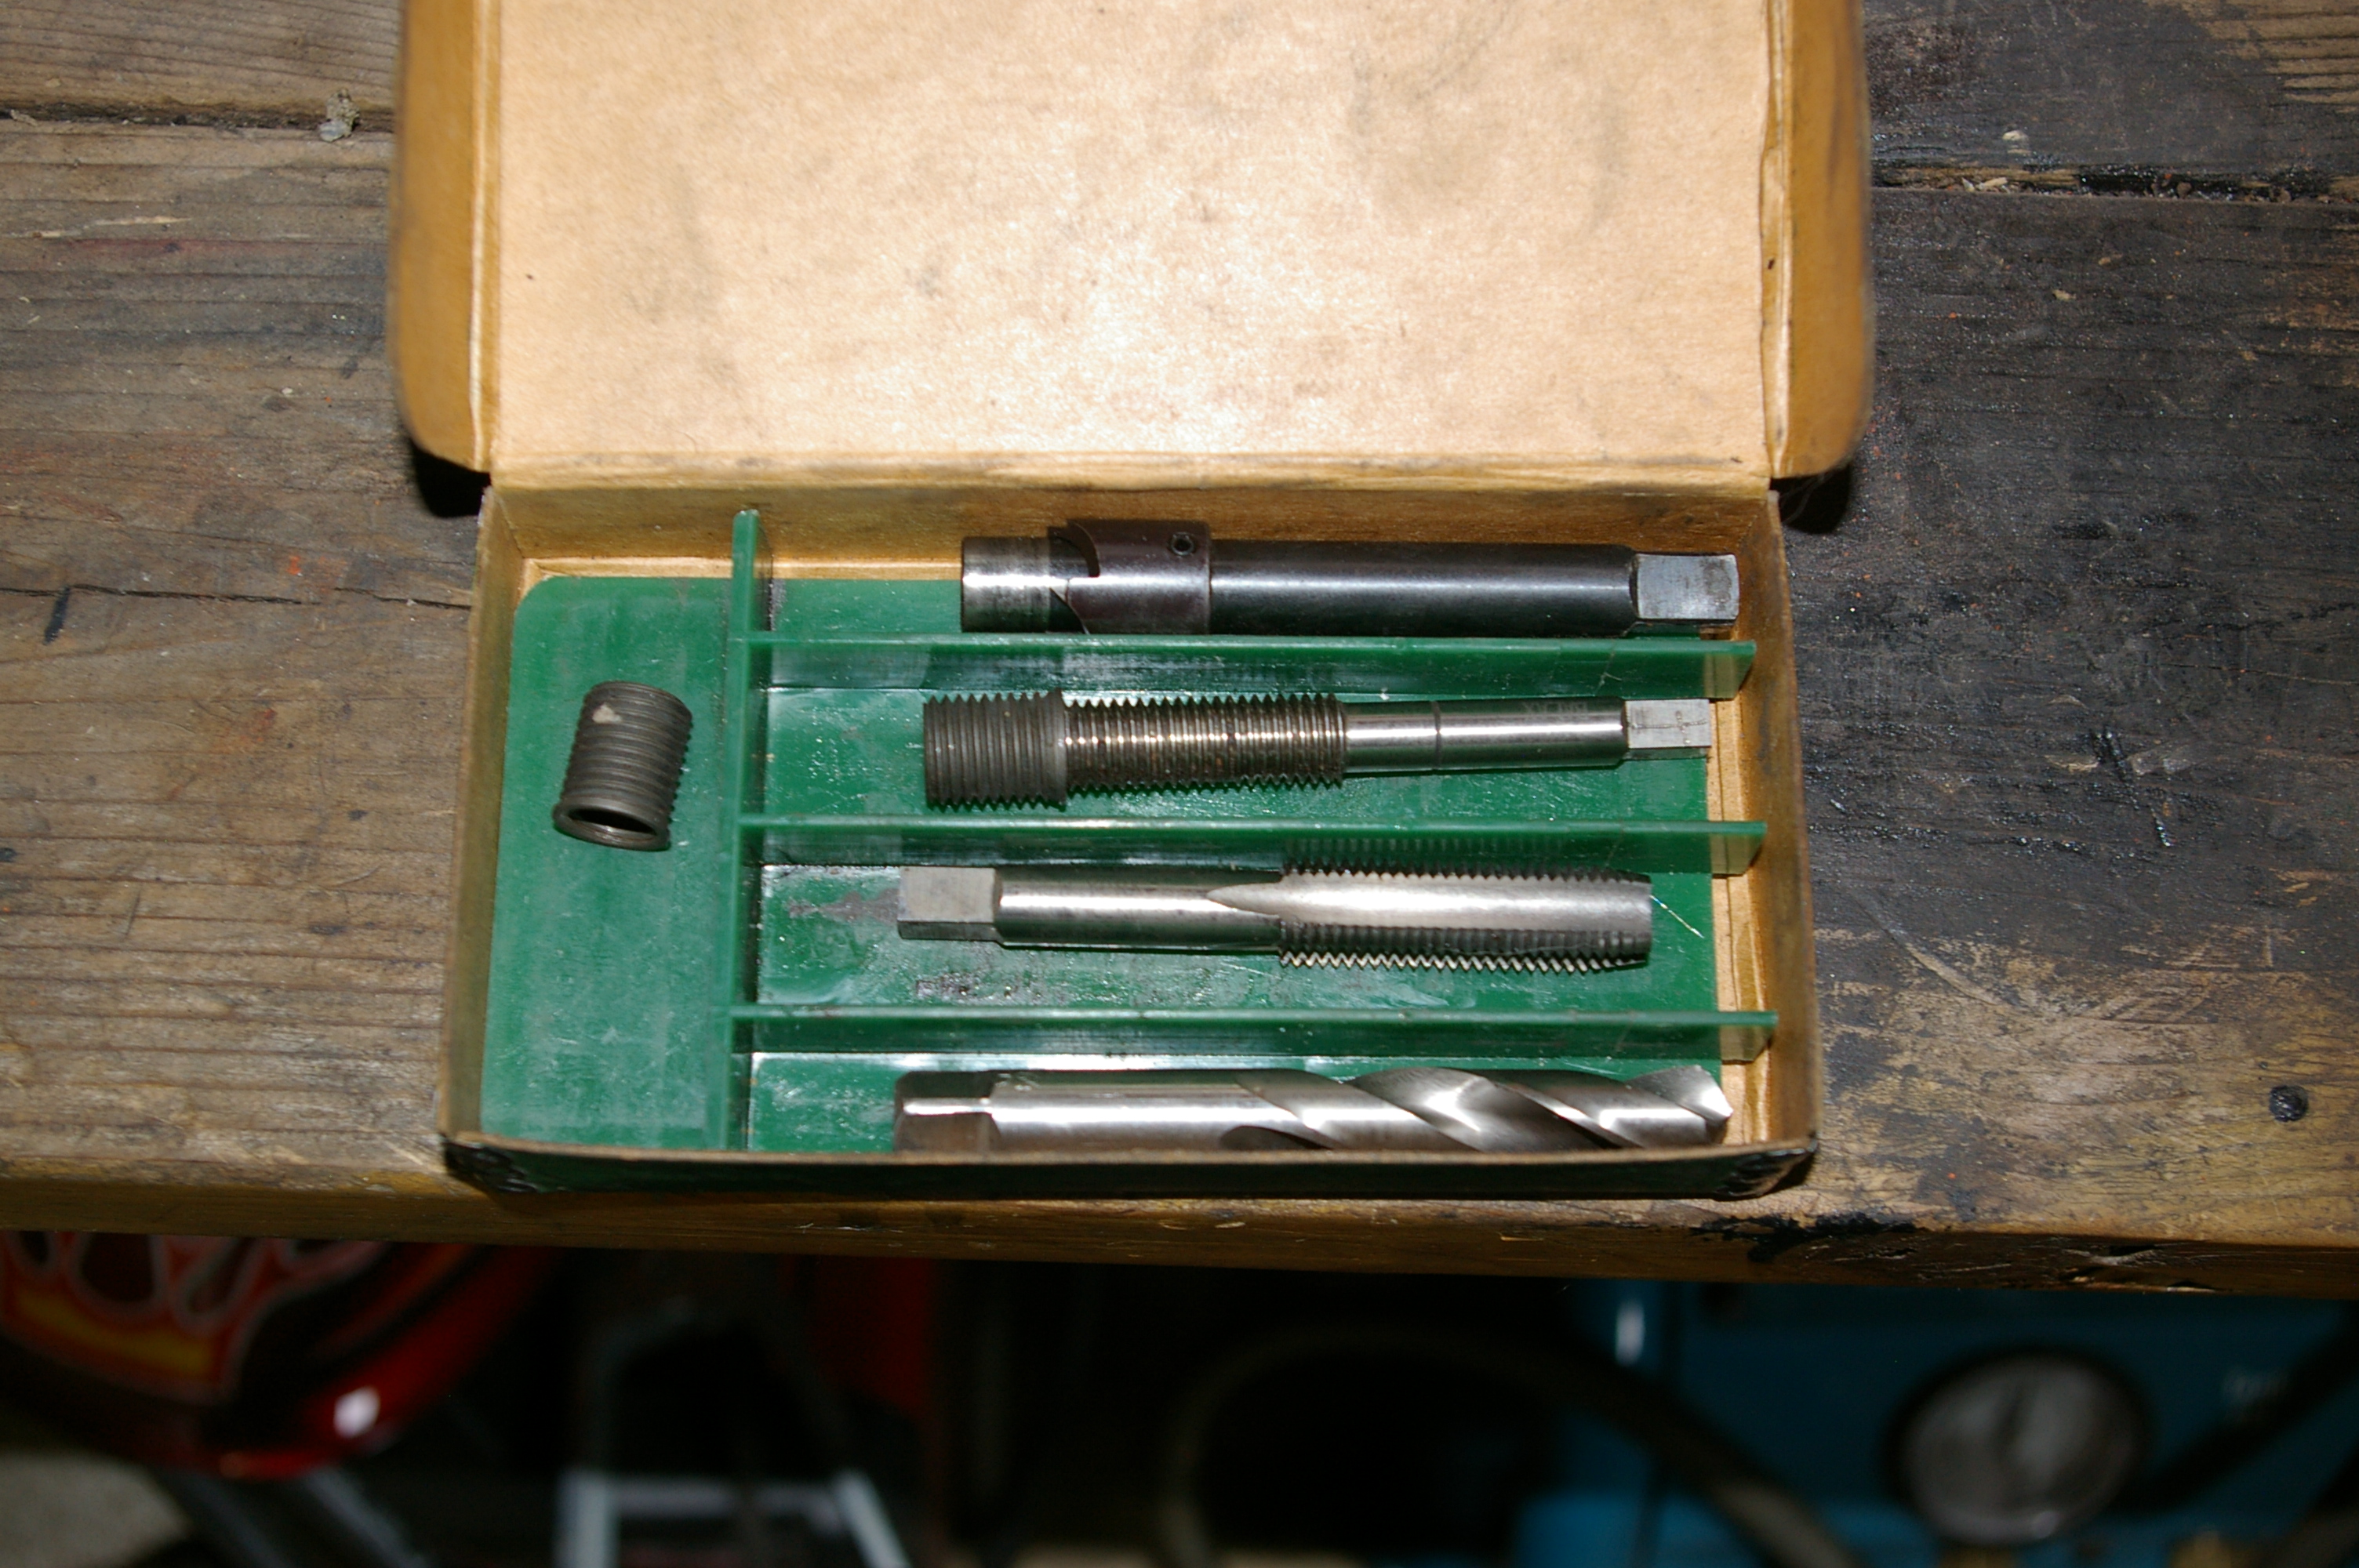
I scored these a while ago along with some other sizes at a garage closing sale, picking them up not because i needed them but i knew that i would need them at some point. The upper alternator mounting bolt had seized and broken off when trying to remove it and drilling it out seemed to be the best and only option. After drilling it out i used the tools included with the Time-Serts to create a larger diameter hole with threads and and inset lip. The insert then uses a special thread tap that expands the insert slightly while cold forming the final few inner threads of the insert. A solution that with a little patience proved to be great fix.

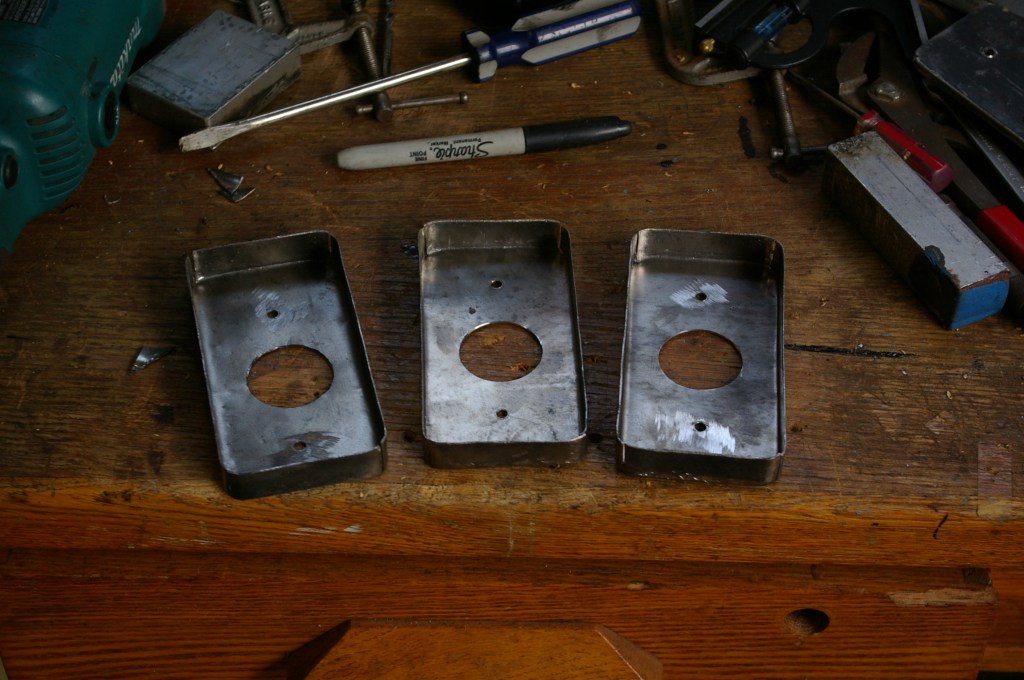
FAIL!
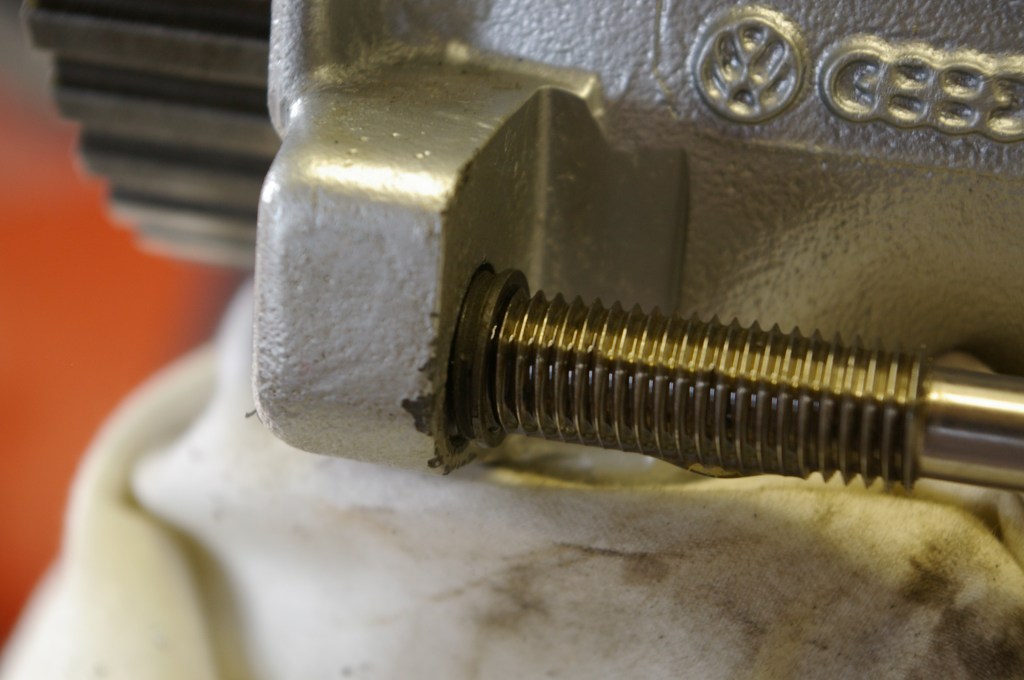
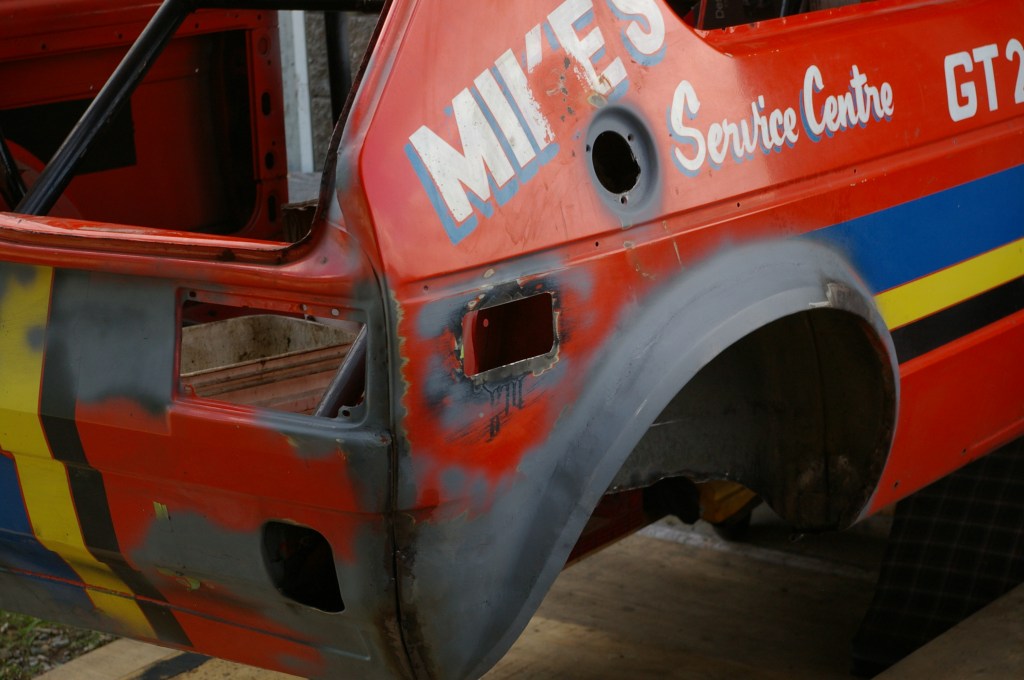
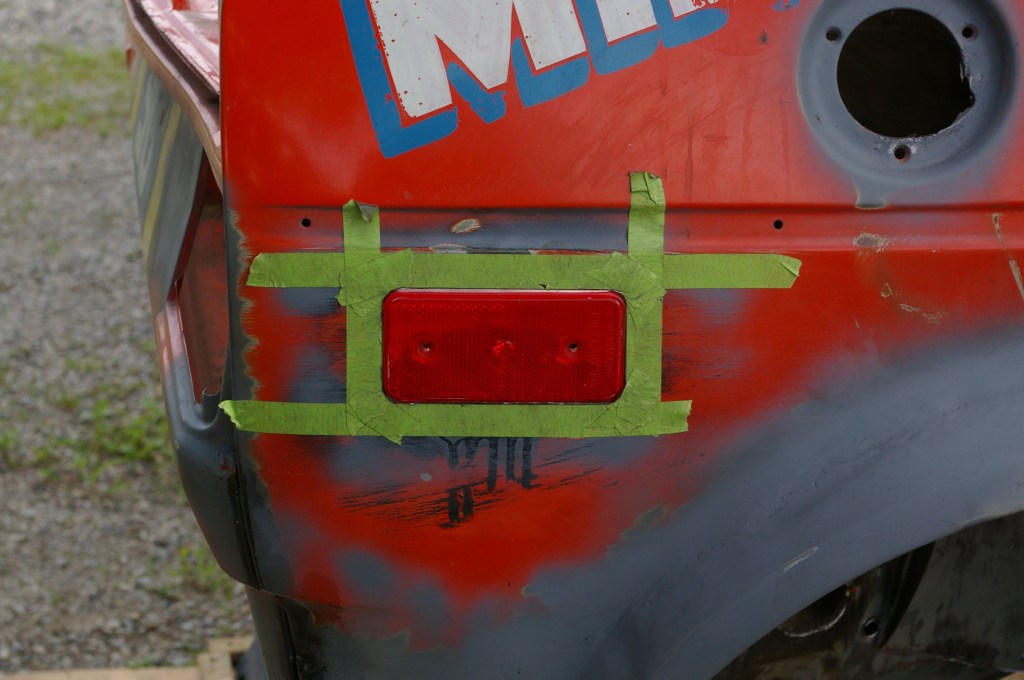
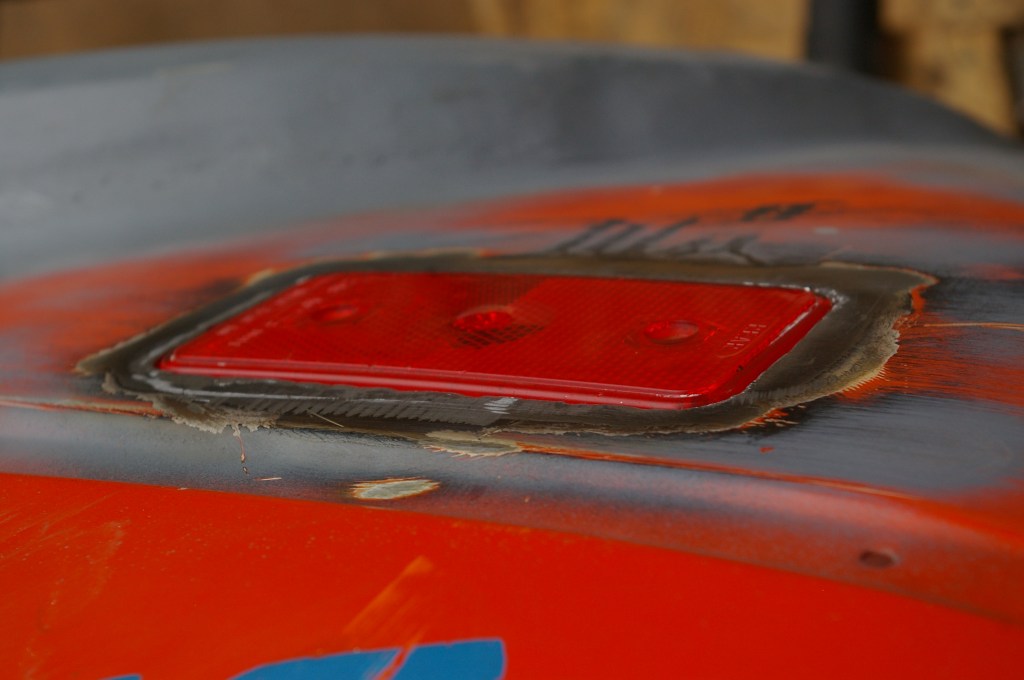
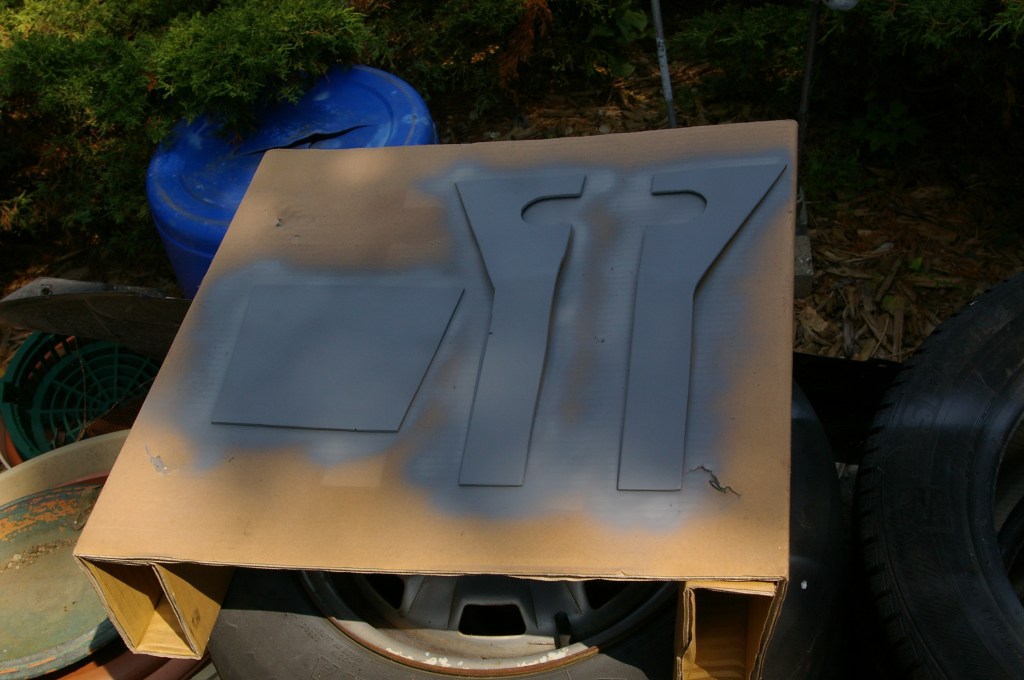
Attempting to make a Frenching cups to recess the side markers into the body. Maybe if i made the plate form template thicker id have better results but ultimately it was bound to fail. Different tools that are better suited for this kind of metal forming would work as well. So i had to figure out a different way to make it with the tools and skills on hand.
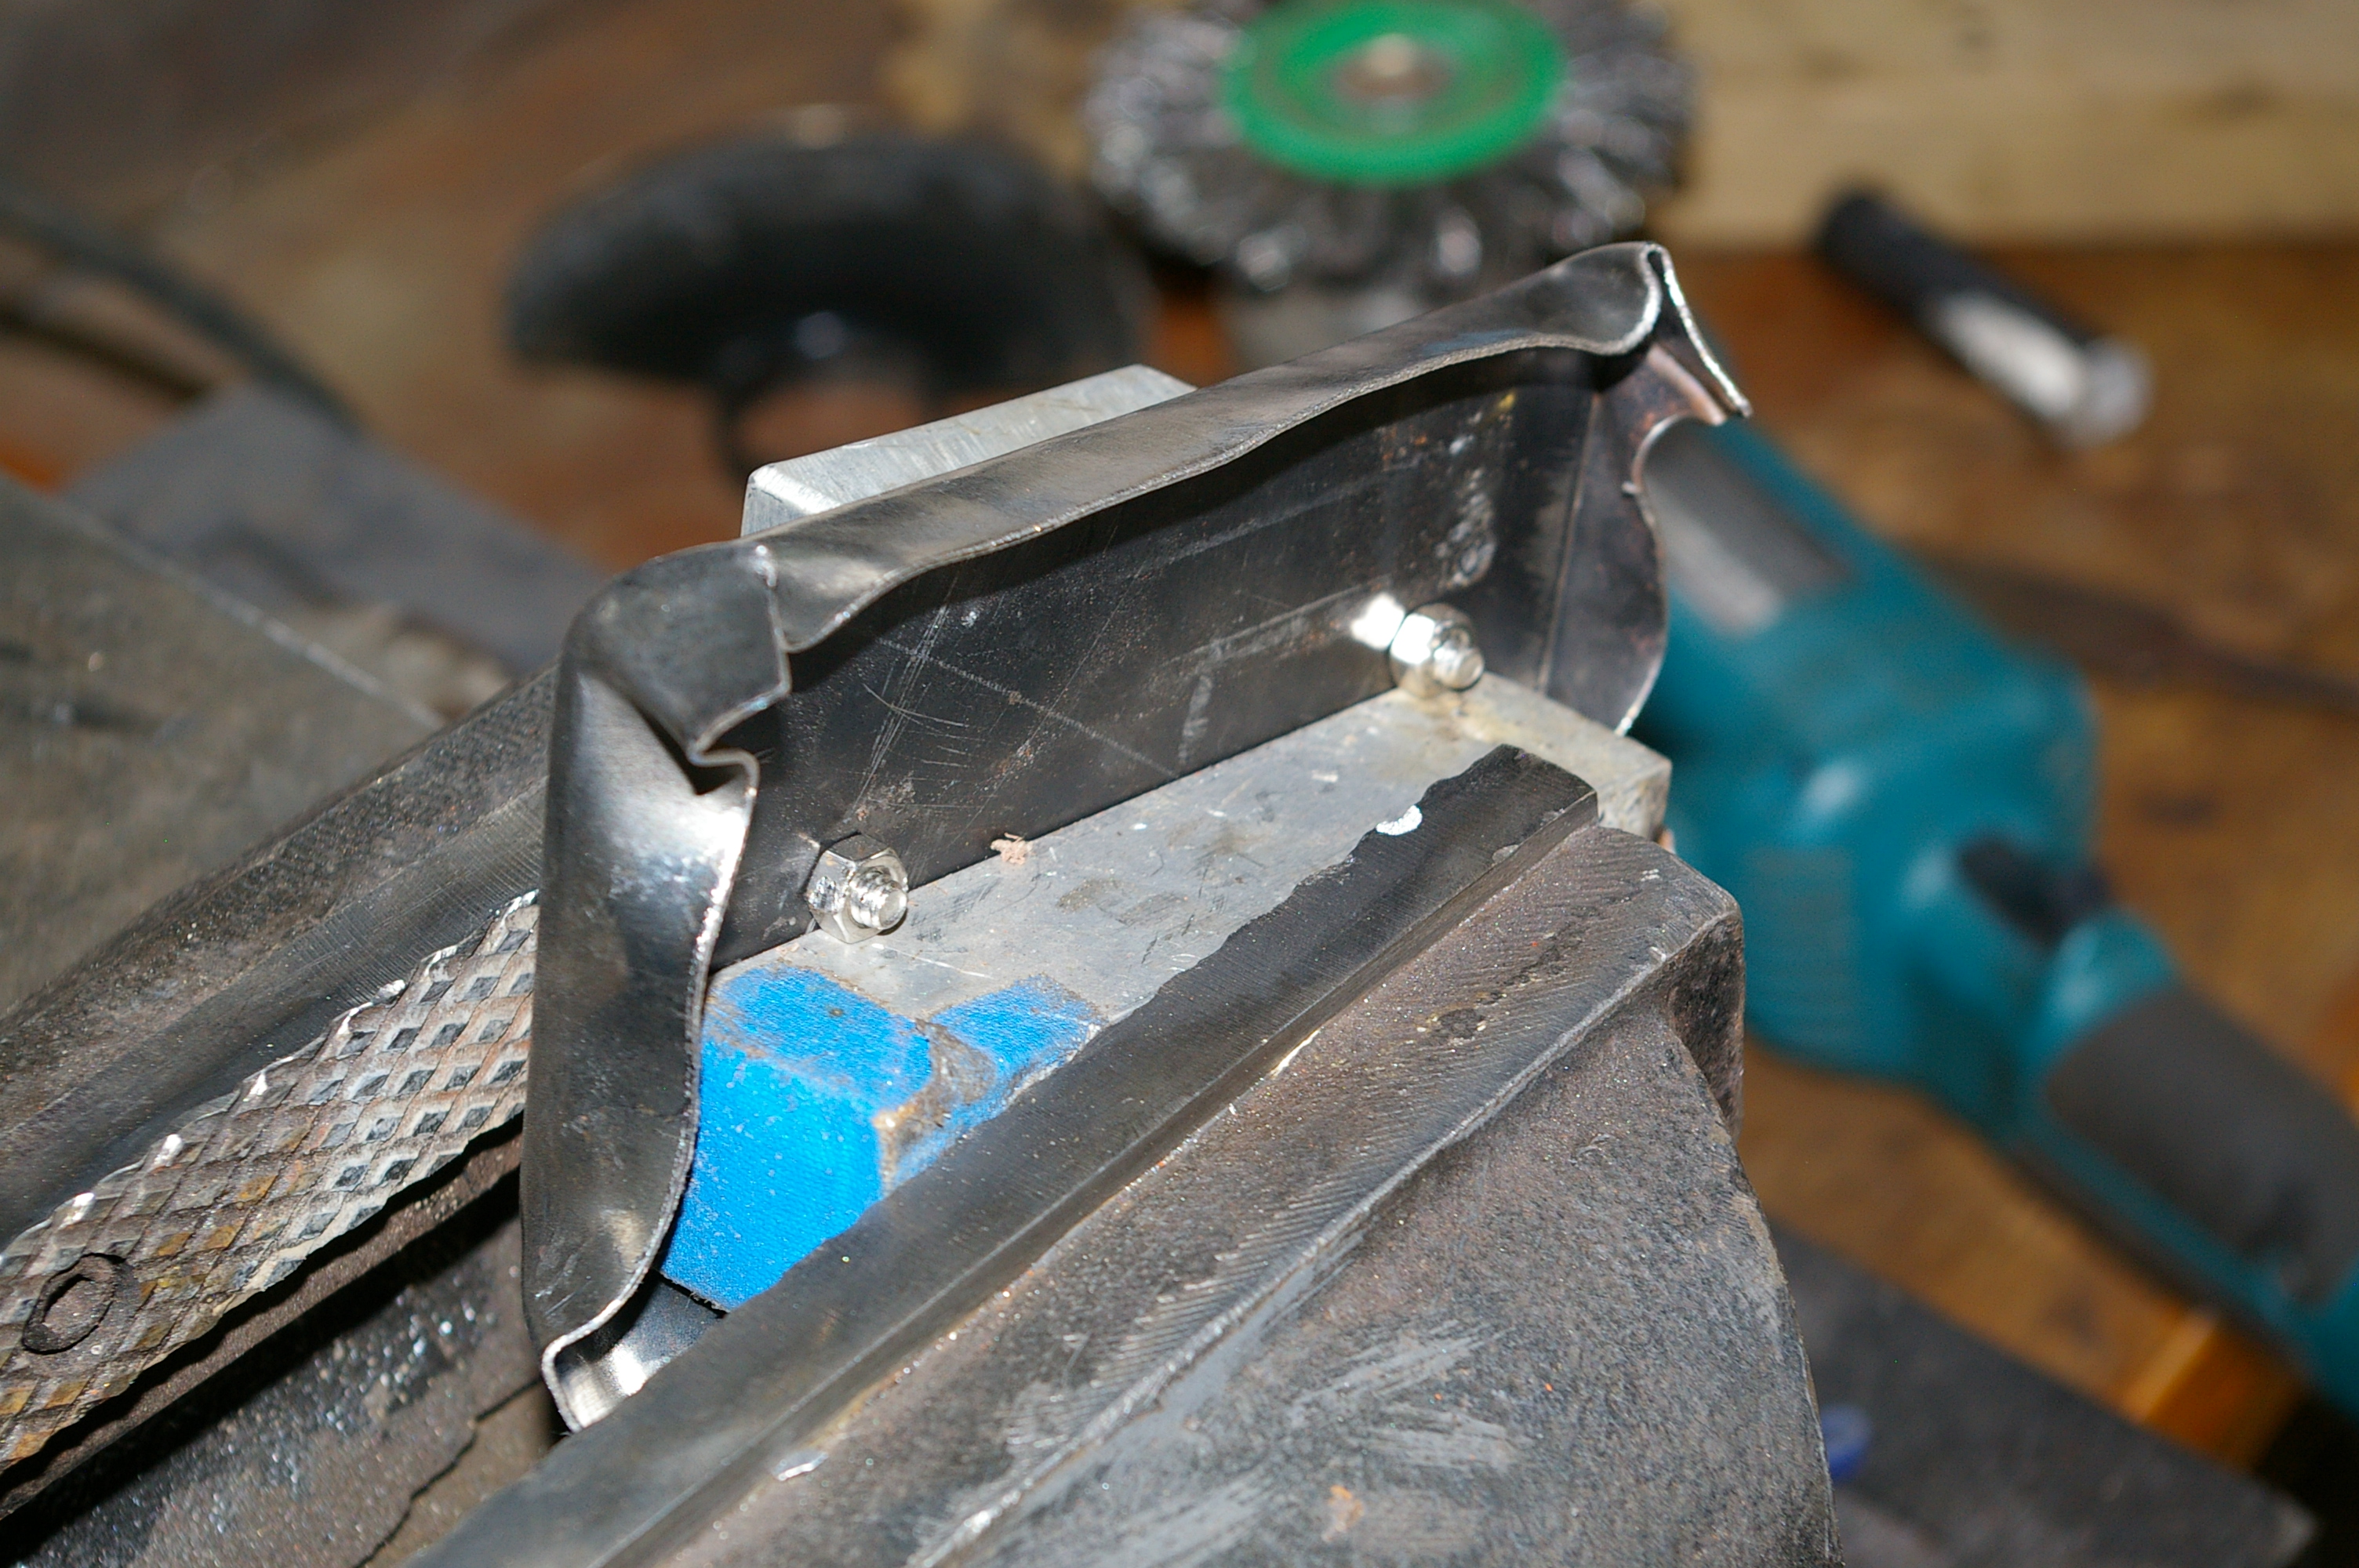
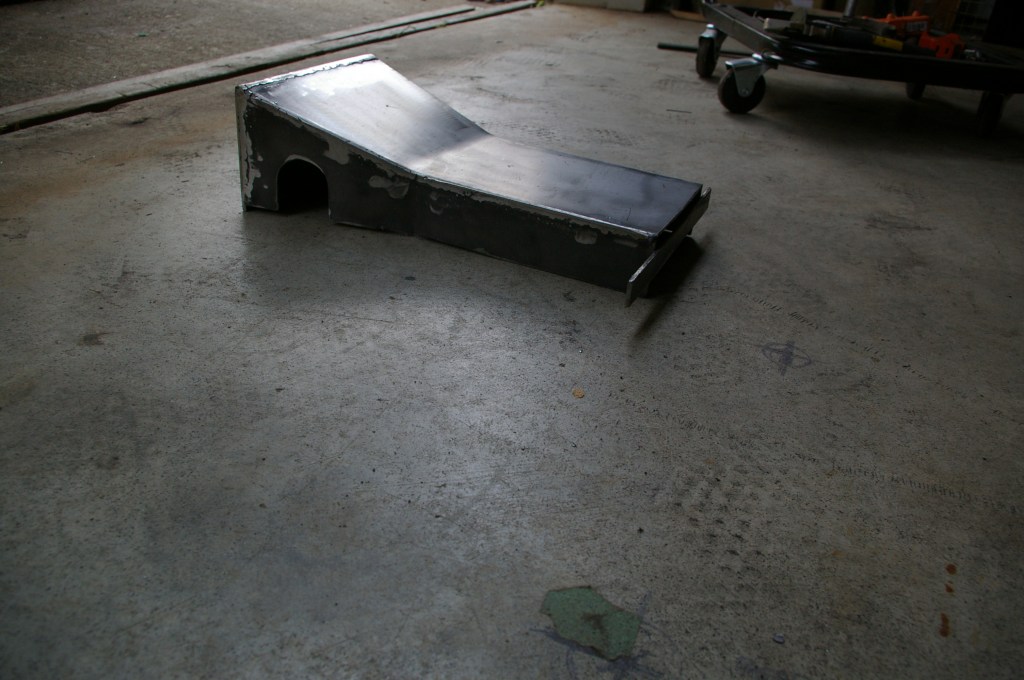
Much Better.
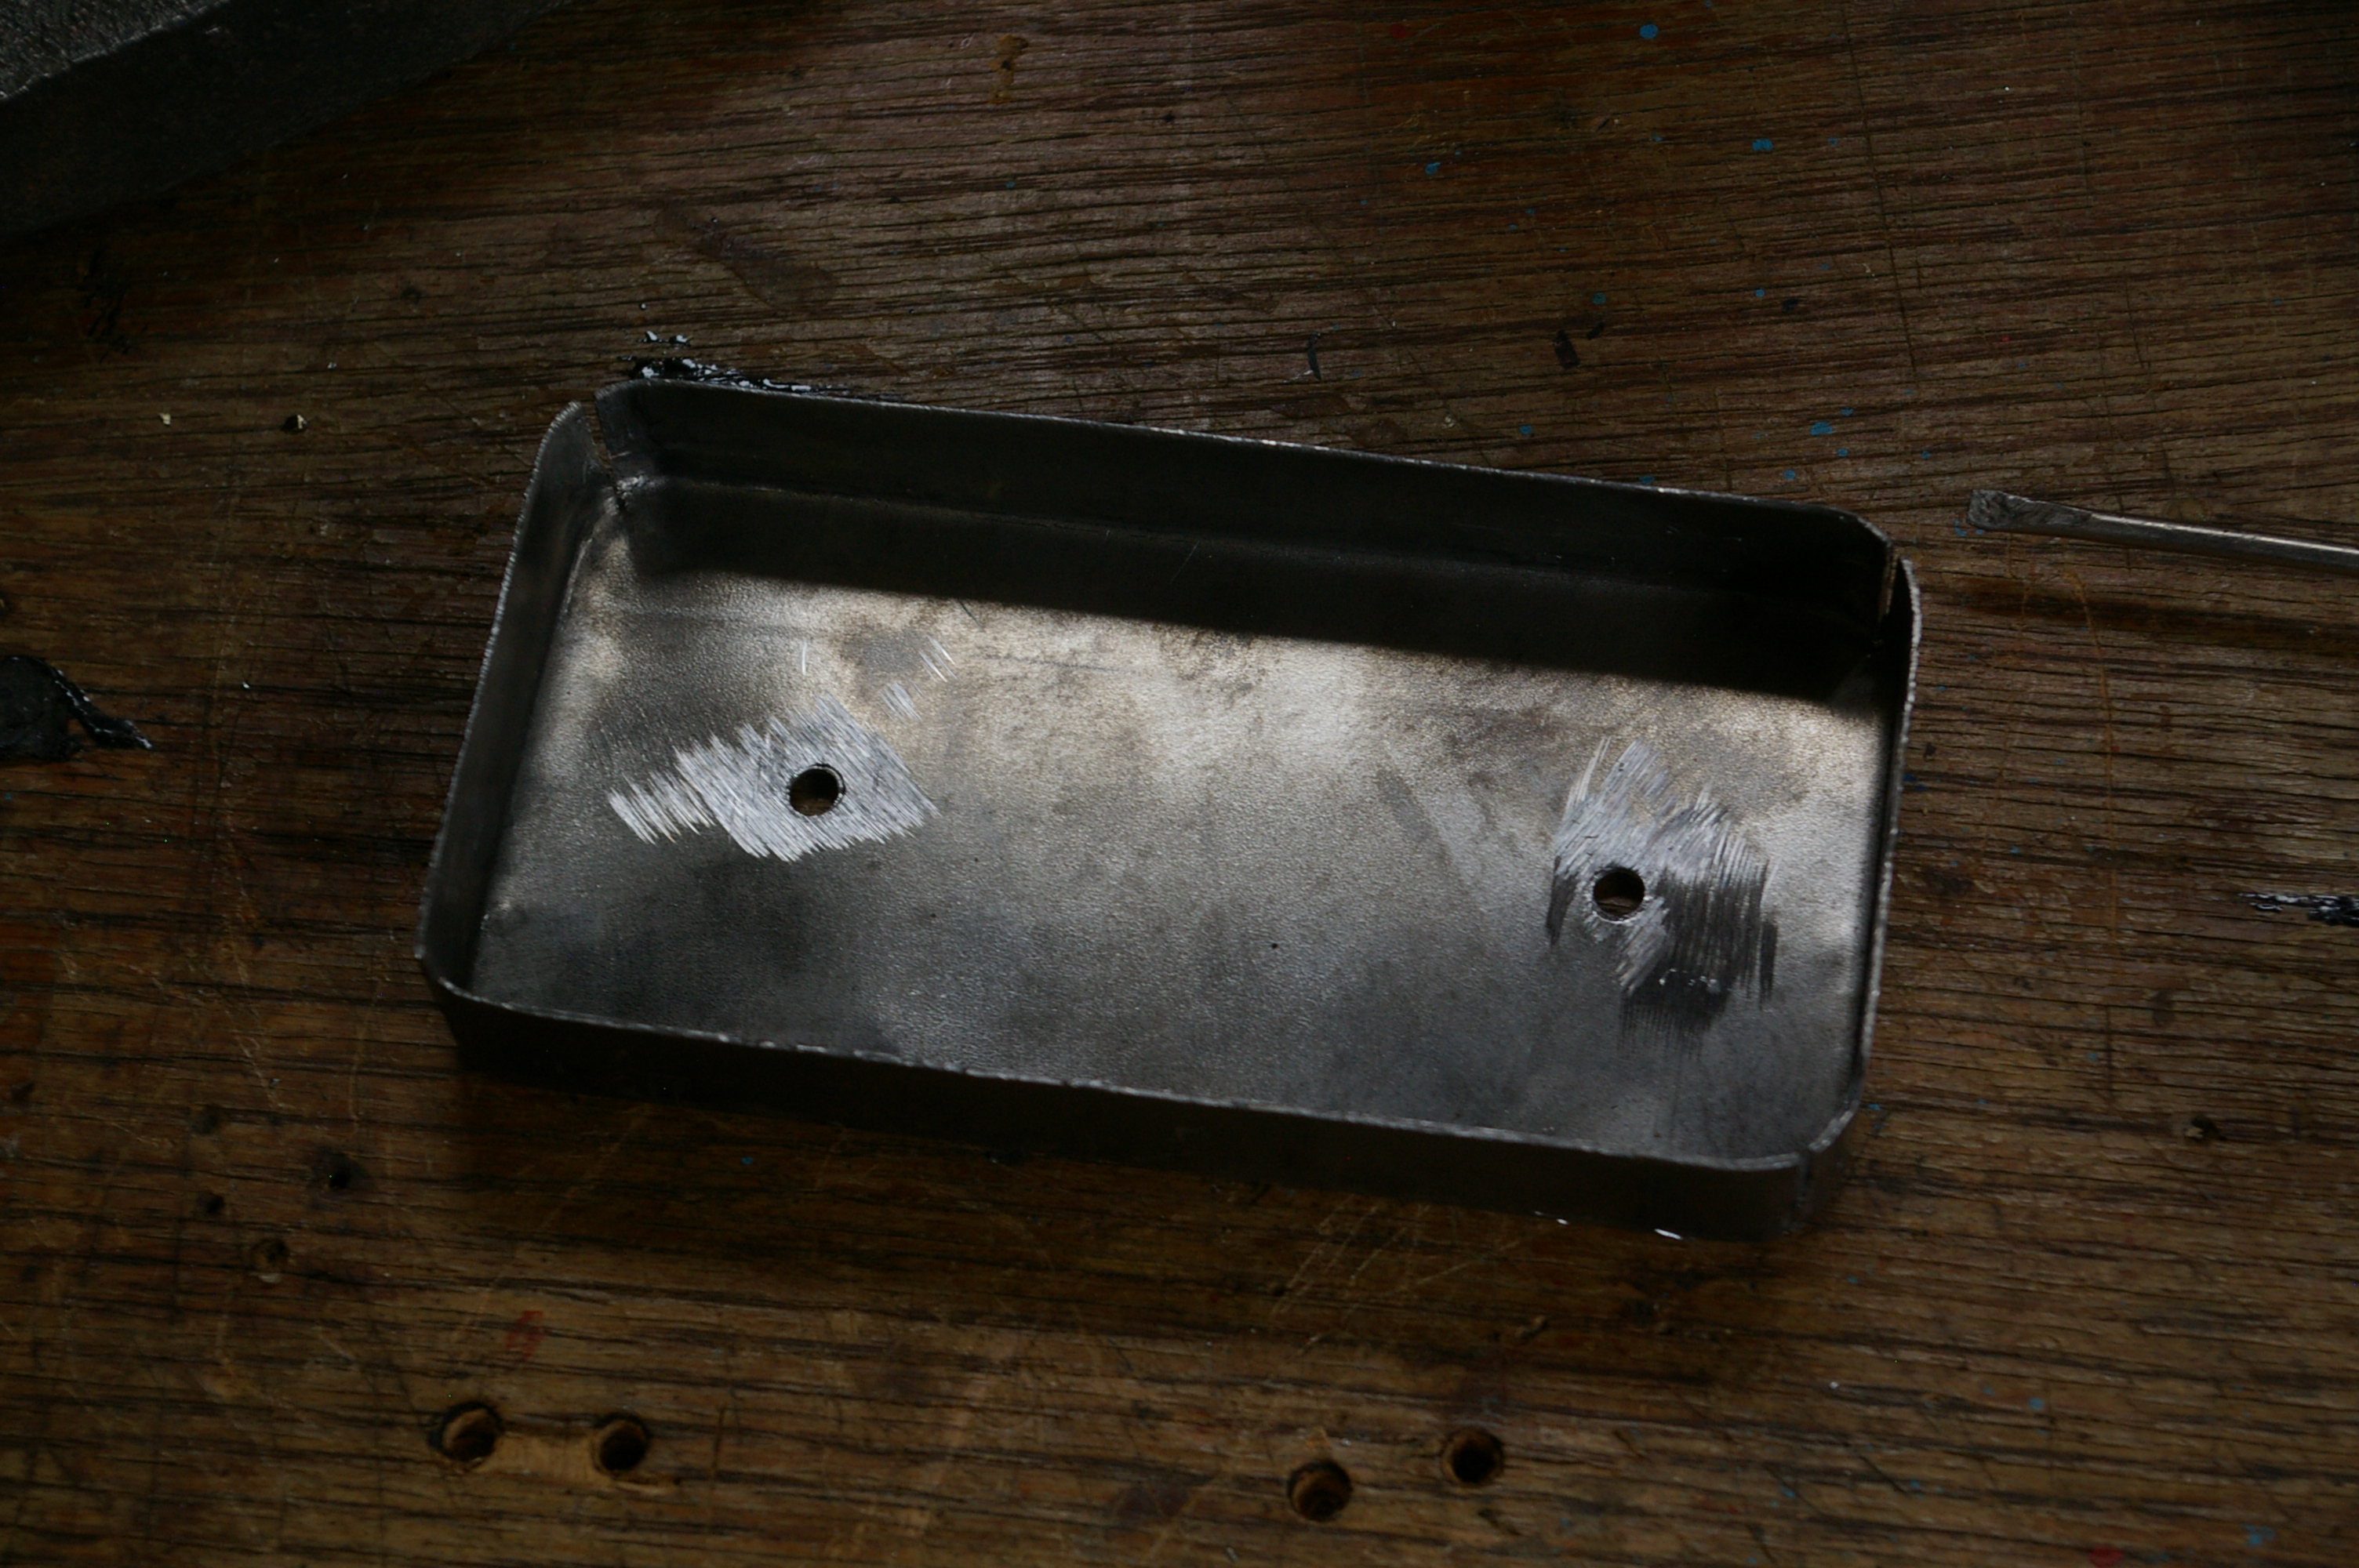
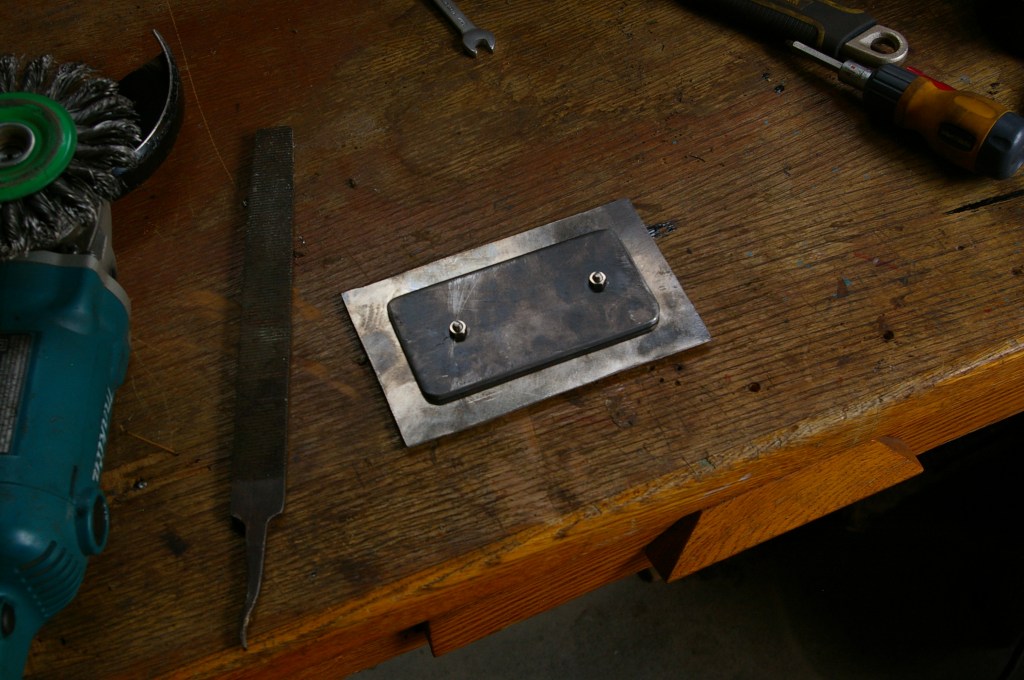
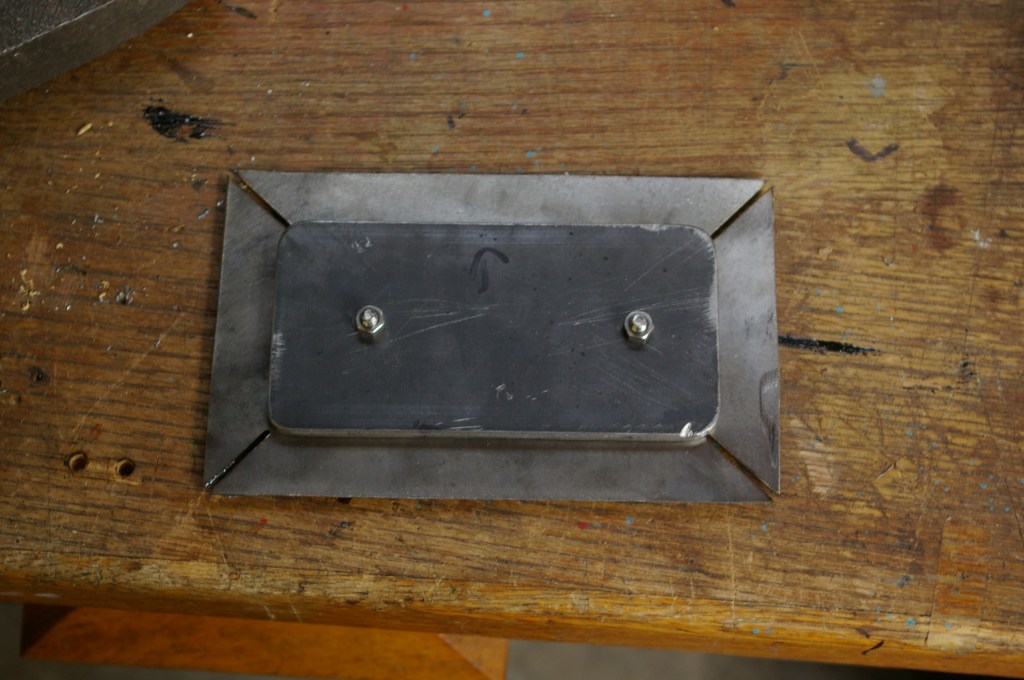

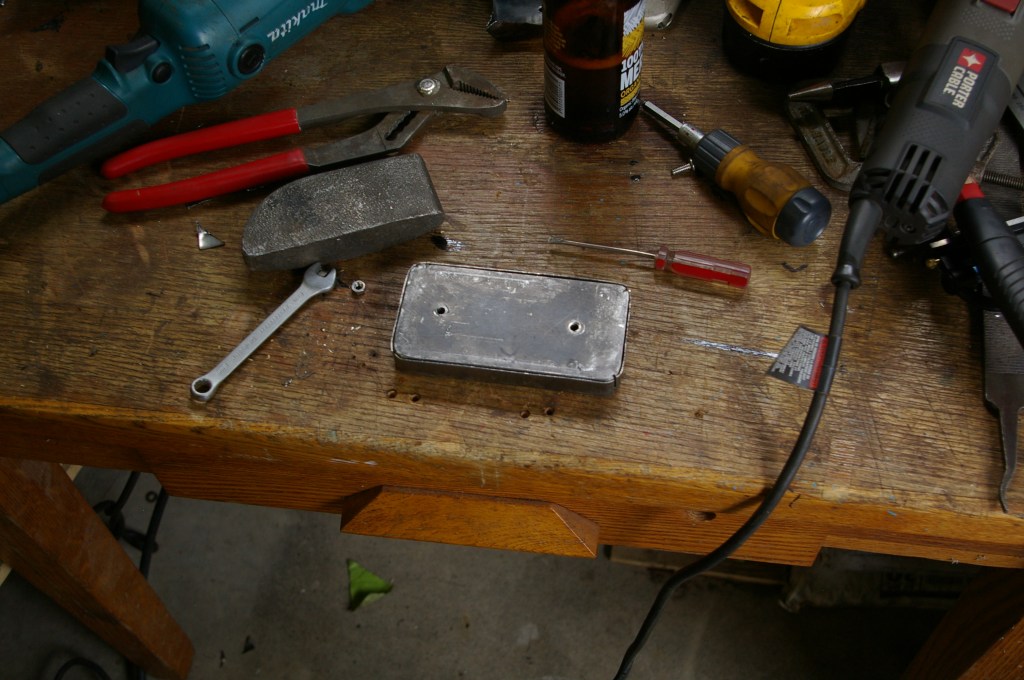

The Results Are In.
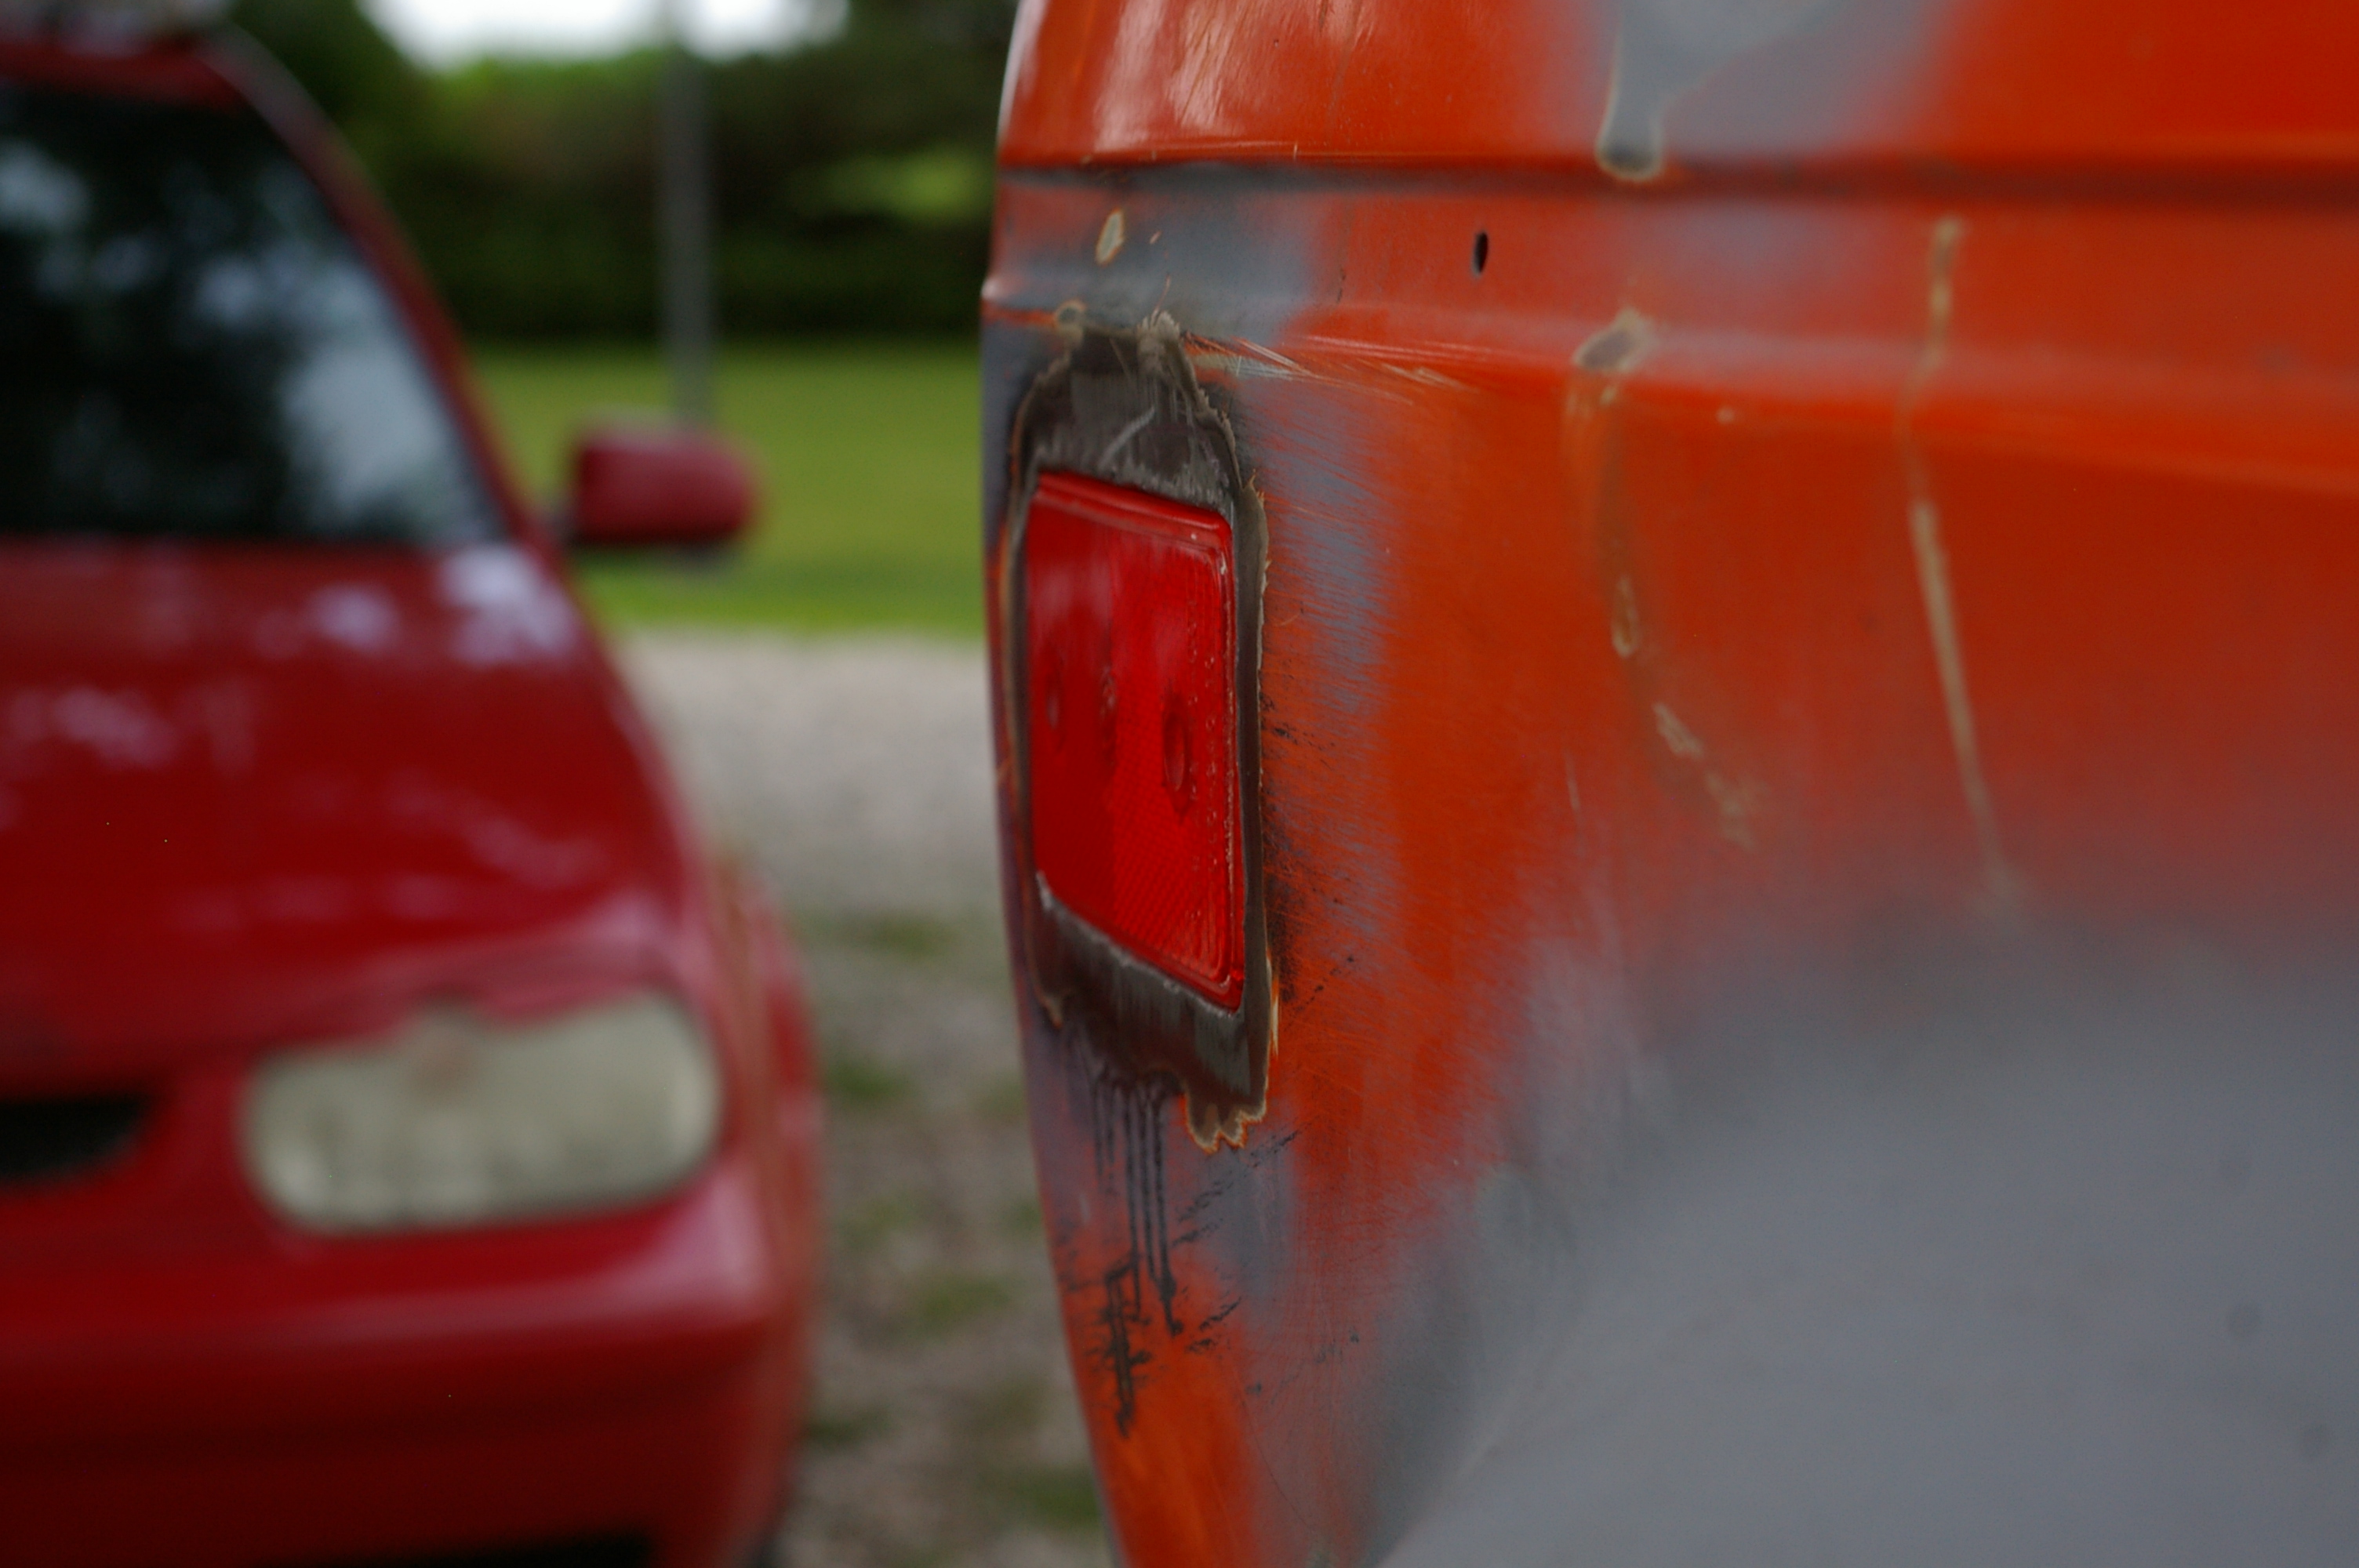
I really like the clean look that you get by filling the marker mounting holes and removing the markers, yet on the other hand i like the increases in visibly the markers provide. So why not get the best of both looks and functionality. Frenching the marker into the body keeps the original functionality with that clean shaven look. Win Win.

Next up – Oil.
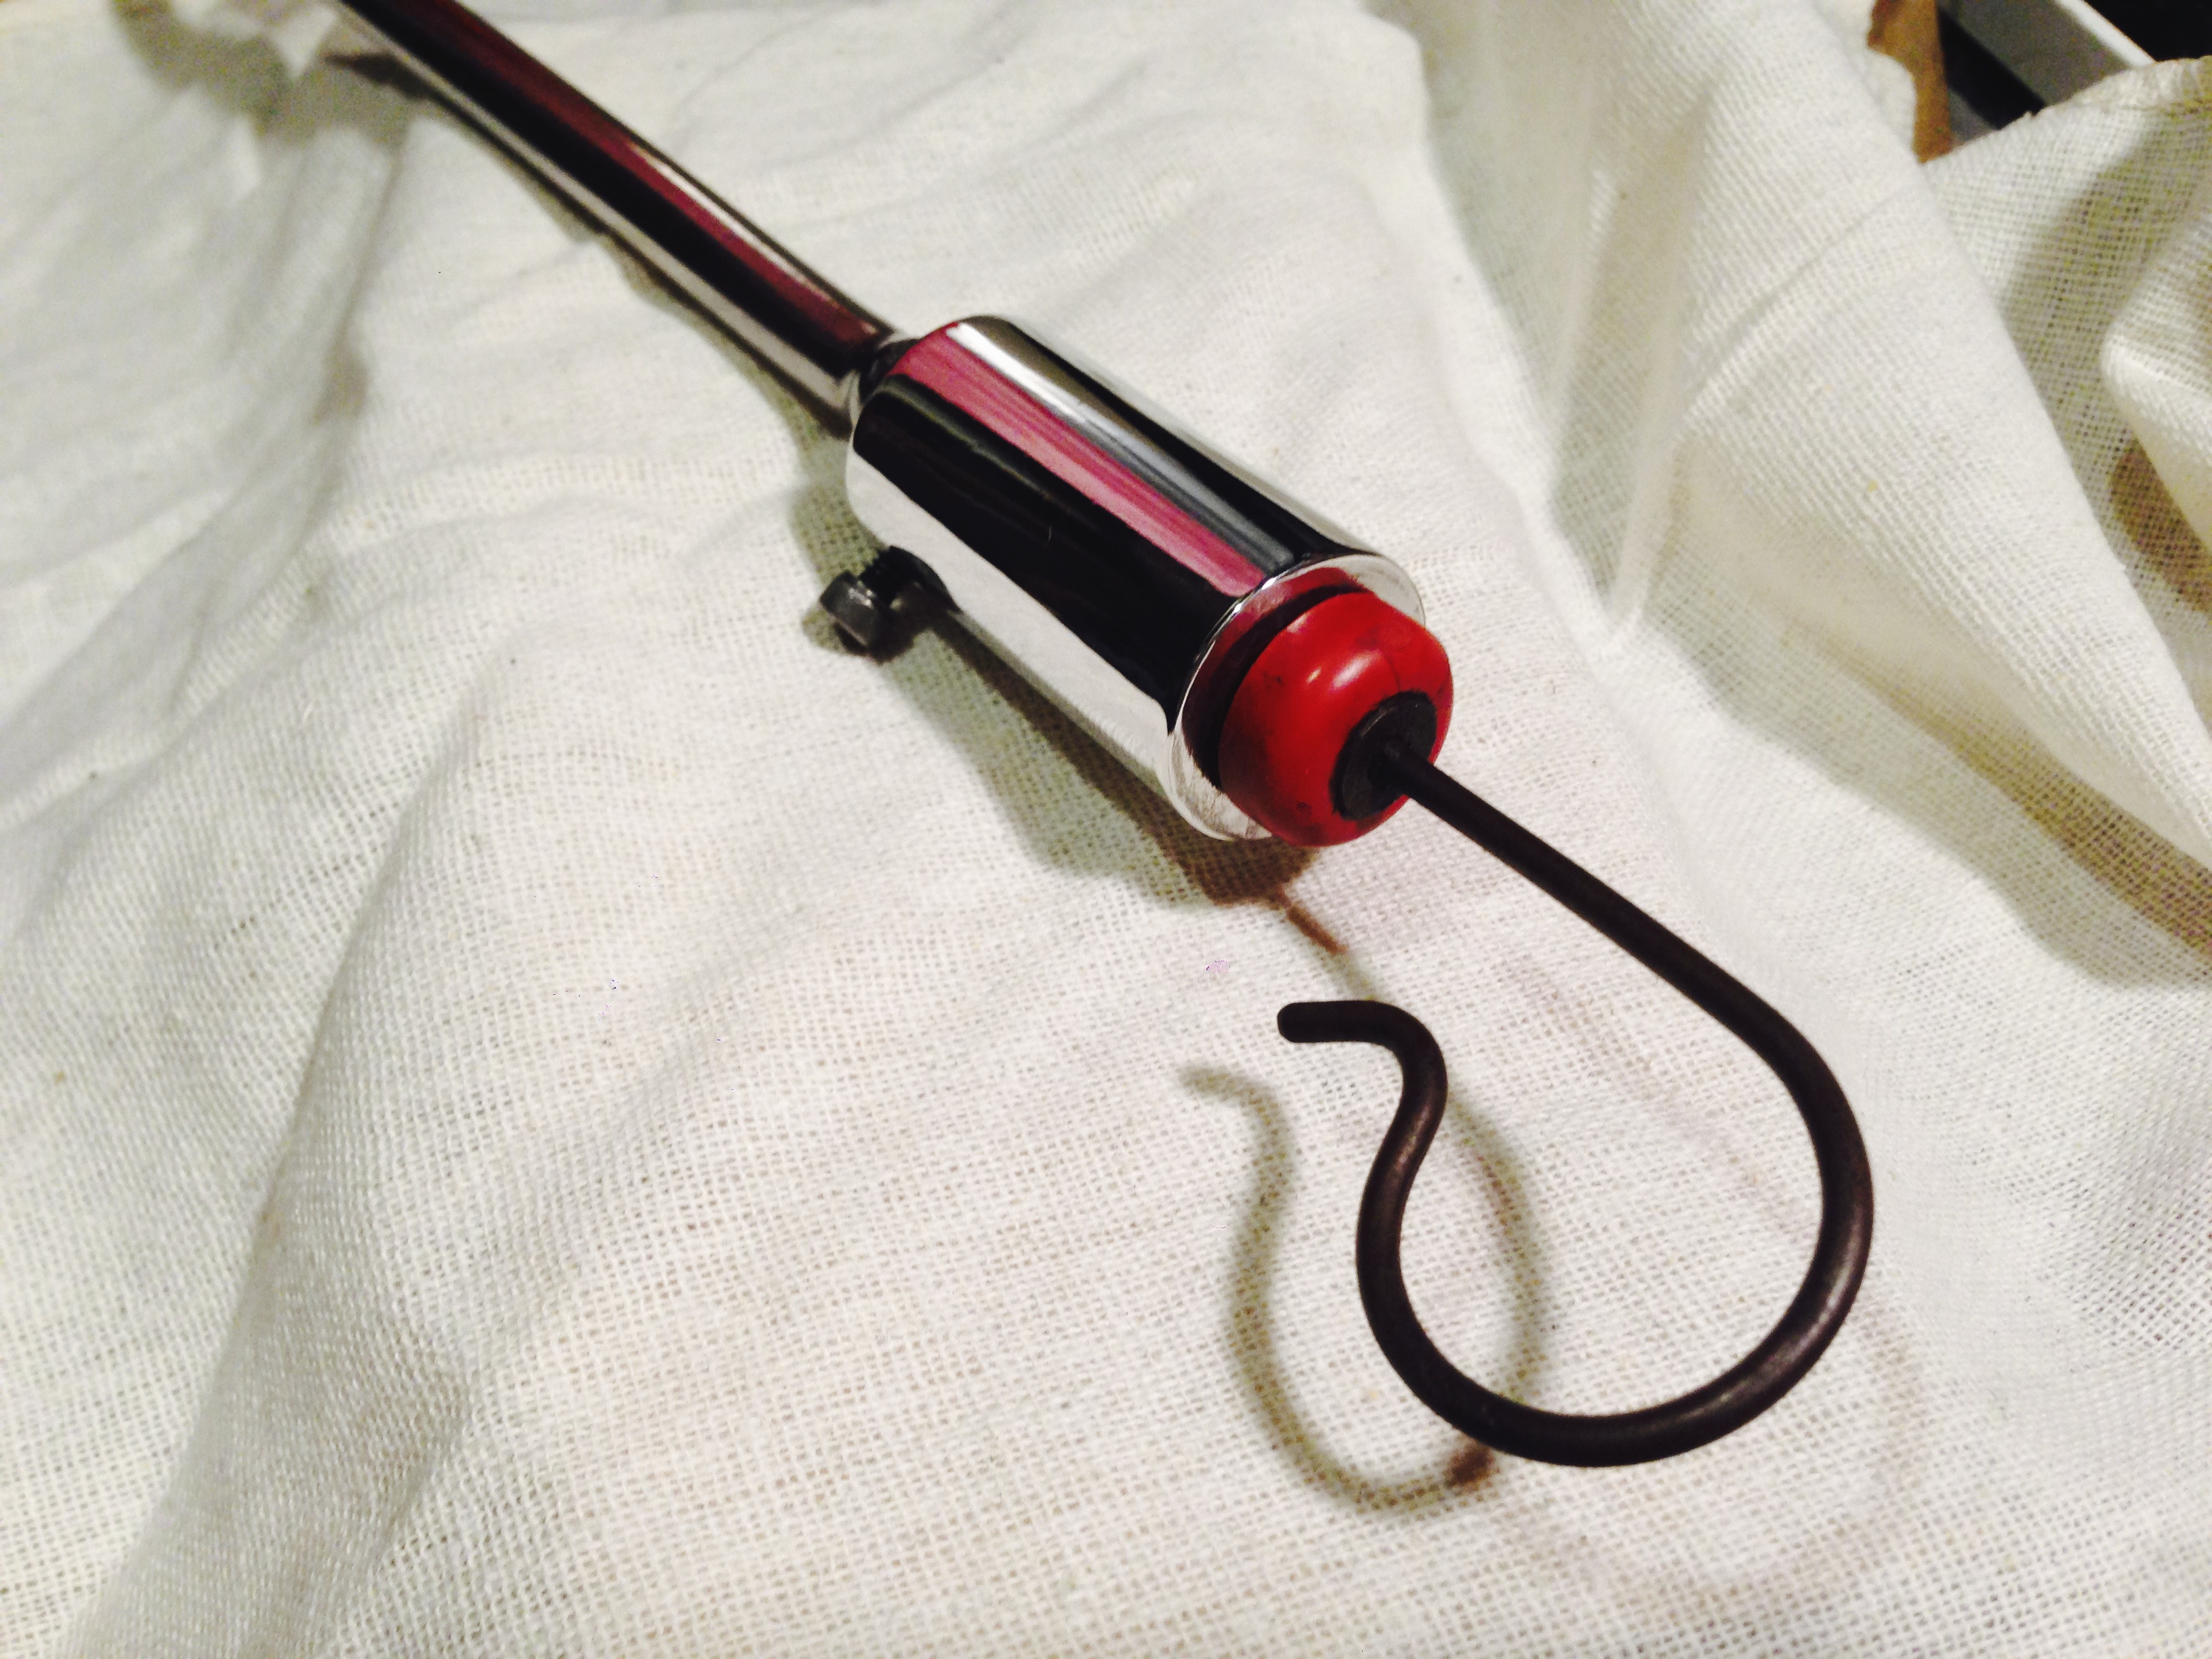
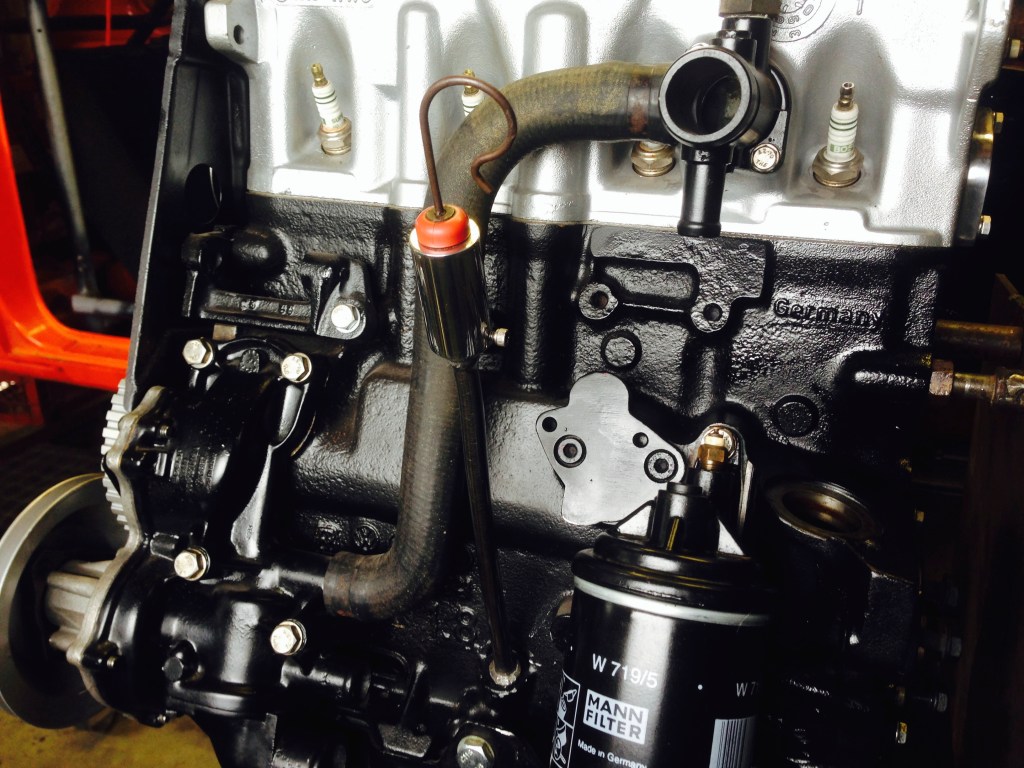
The oil dip stick tube usually has a brittle plastic receiver for the stick, mine disintegrated and instead of buying a new one i just made one. Starting with some scrap aluminum round bar i drilled out the centre of each end to accommodate the oil tube end, as well as the dip stick end. The tube ends gets a small set screw and the whole assembly then gets polished and hammered into the engine block.


And Then This Happened.
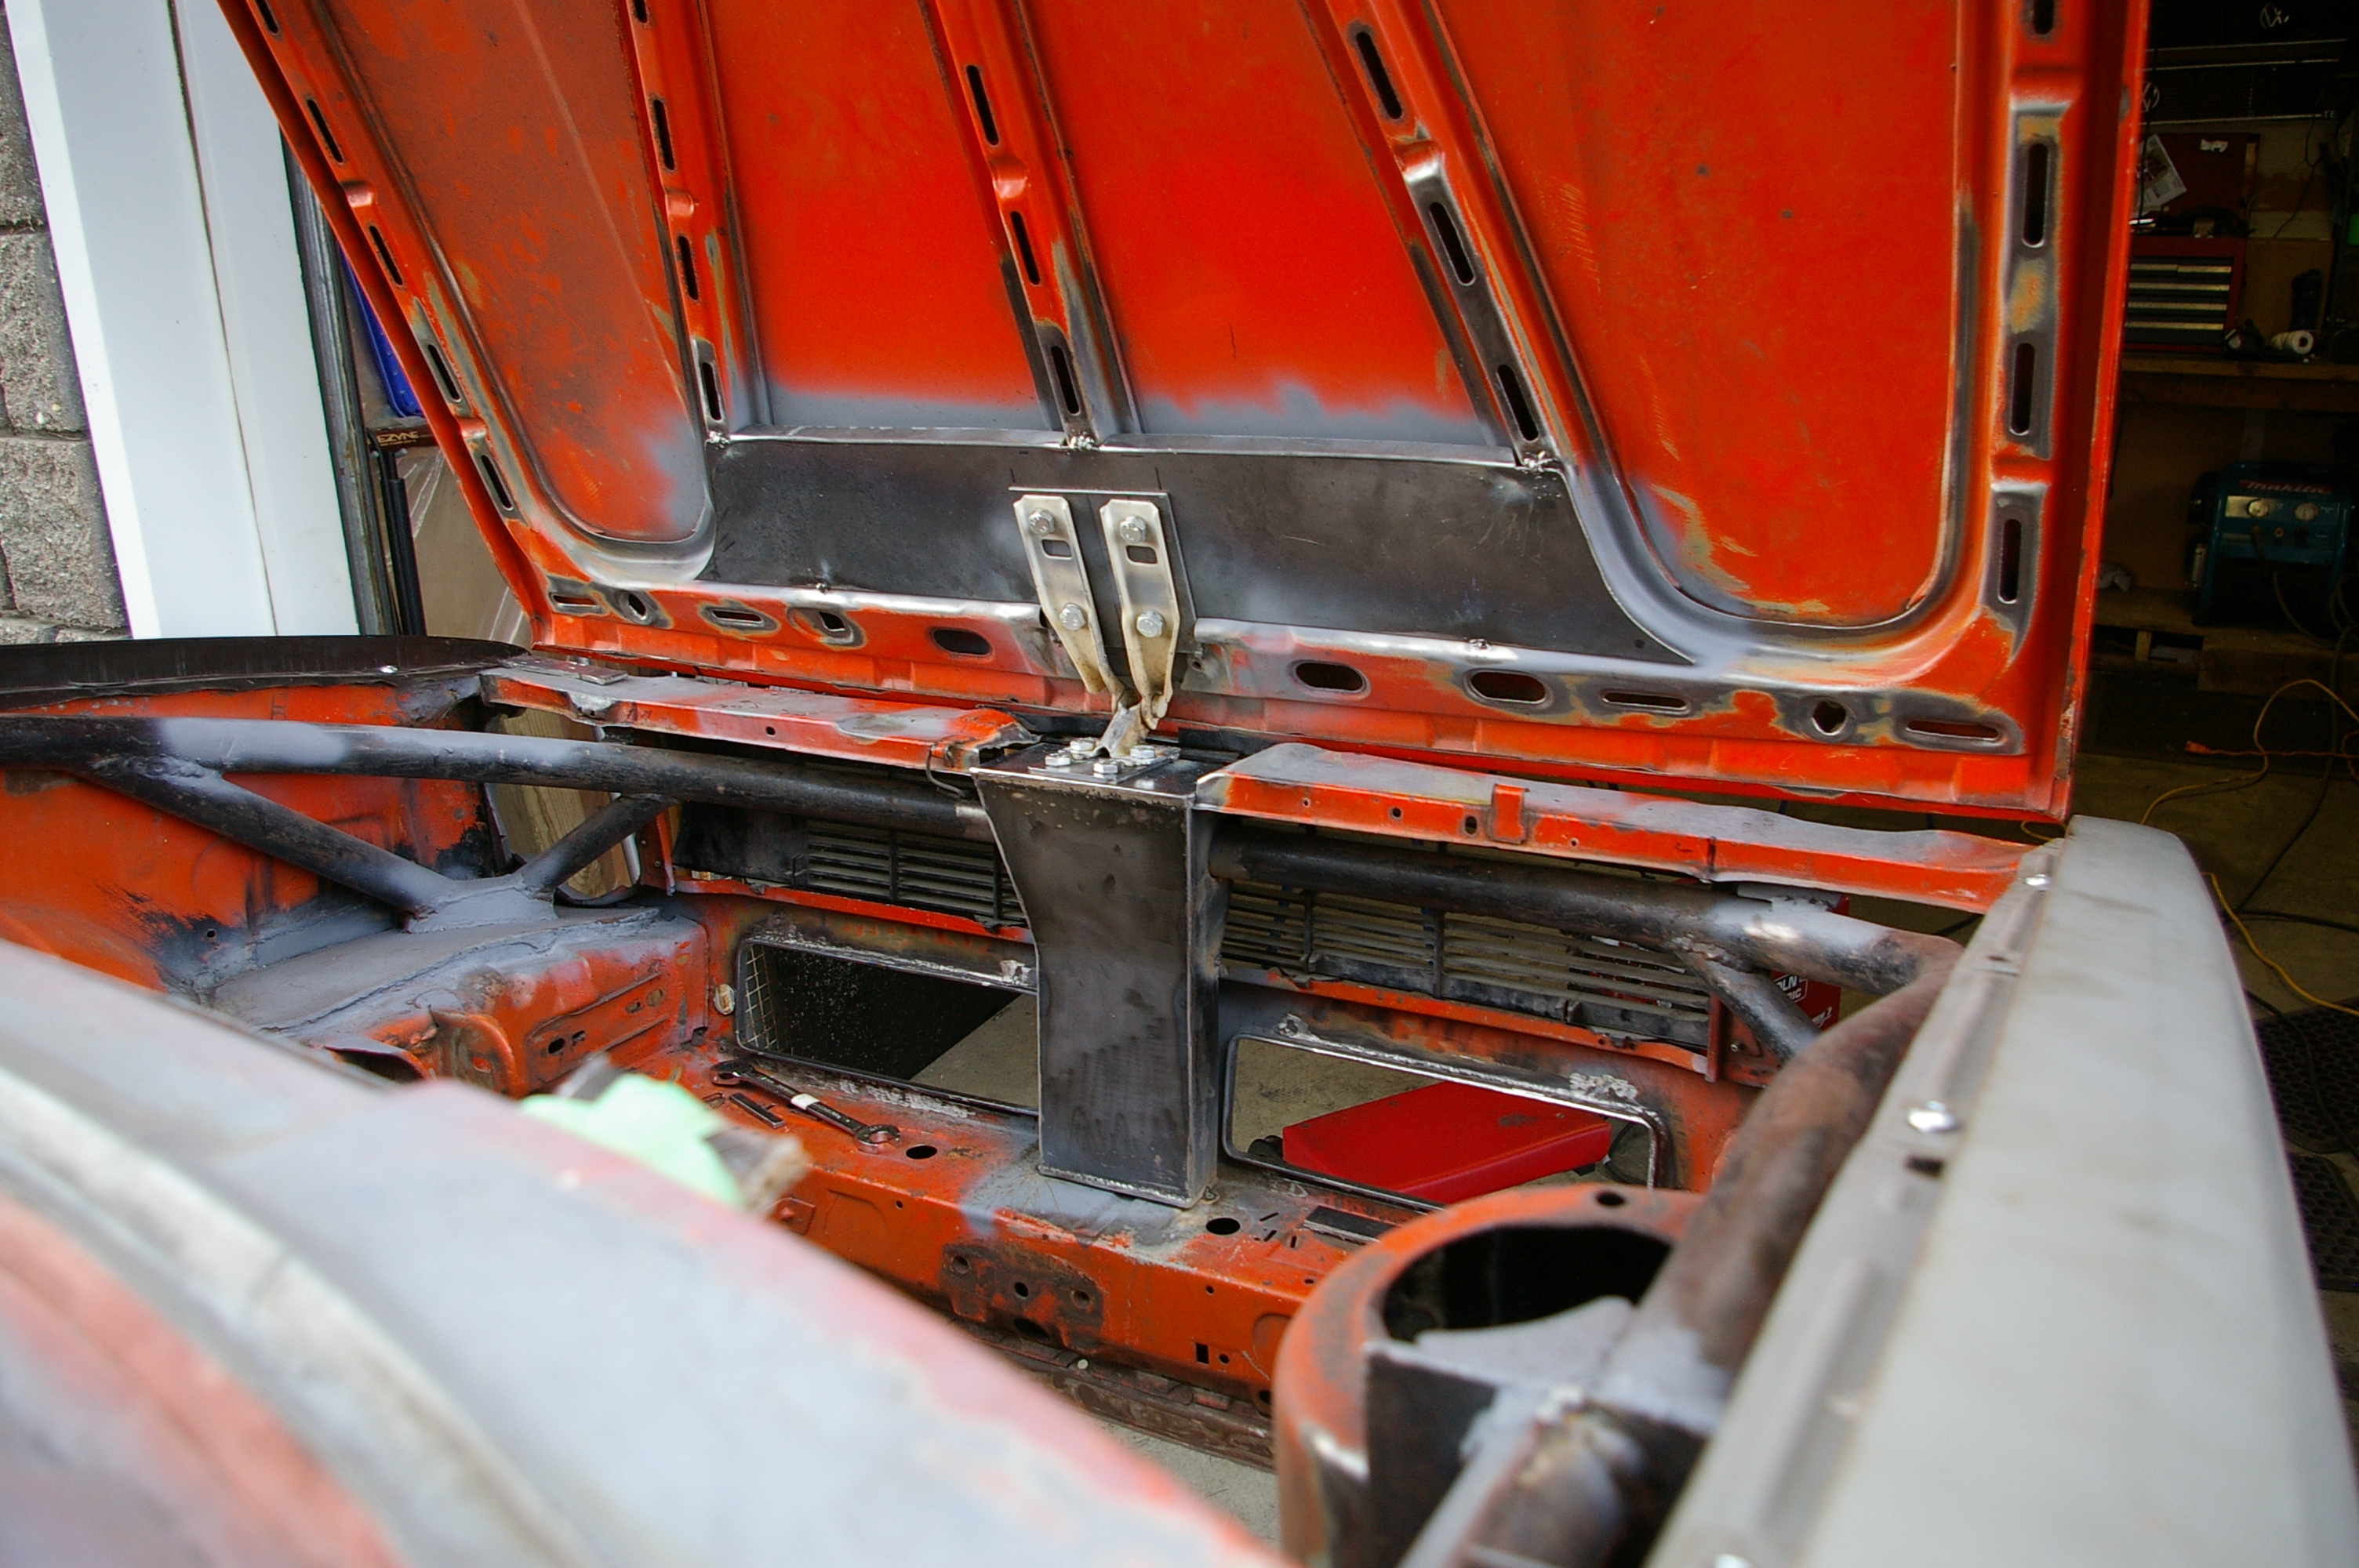
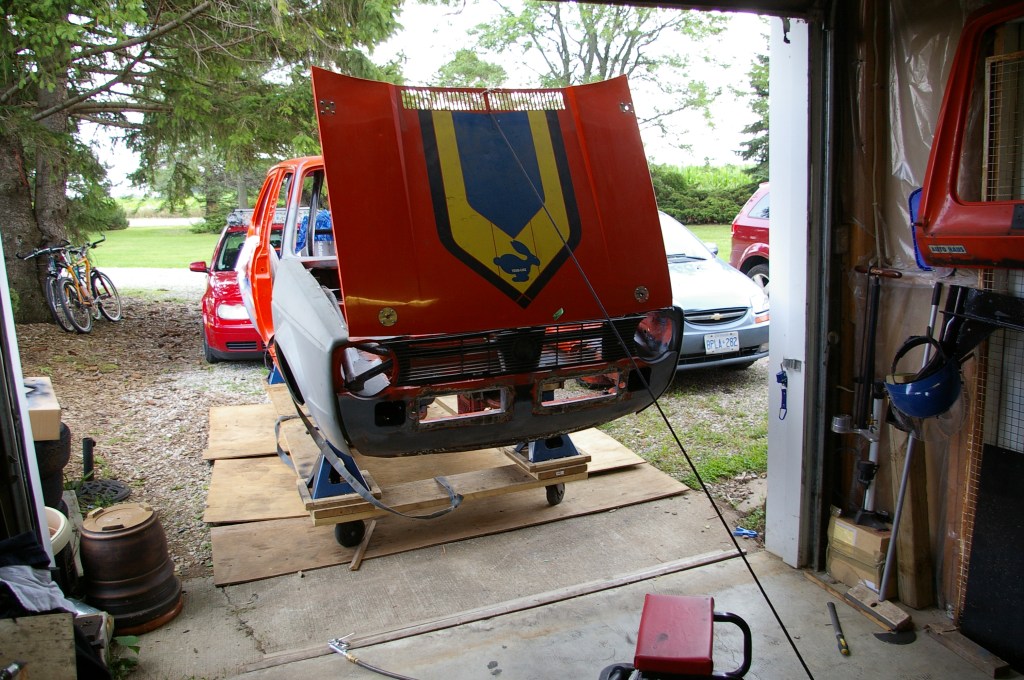
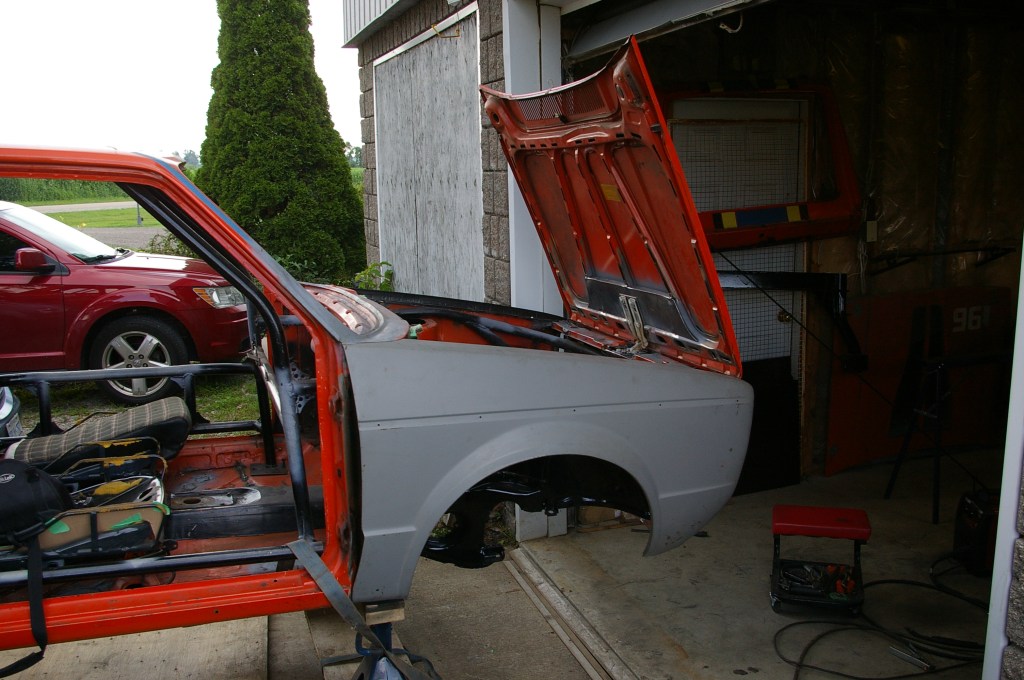
The car had hood pins installed and the original hinges had been cut away to make room for the roll cage that snakes its way through the engine bay. I had originally thought of keeping the hood hinges but after a few times taking the hood on and off you really realize how impossible it will be to do by yourself over and over without scratching the paint somewhere at least a little. After a lot of thinking and looking at hot rods and customs this is what i came up with. The structure the roll cage helps a lot with the rigidity of the front end as well as provide a great mounting point. Bracing the hood and welding some MK4 hood hinges together i pieced it together bit by bit. Card board templates are transferred over to plate steel, Fit, Tack, Position, Check, Double Check, Triple Check, Weld, Rinse and Repeat. The hood still need some gas shock lifter on either side to add some lateral stiffness as well as aid in lifting the hood effortlessly. The holes for the hood pin are still there and at this moment as I’m unsure if I’m going to fill them. i like the look the hood pins give to the car so i may end up installing them in a way that still allows the hood to open and close, some thinking is needed still on that though.


BONUS.
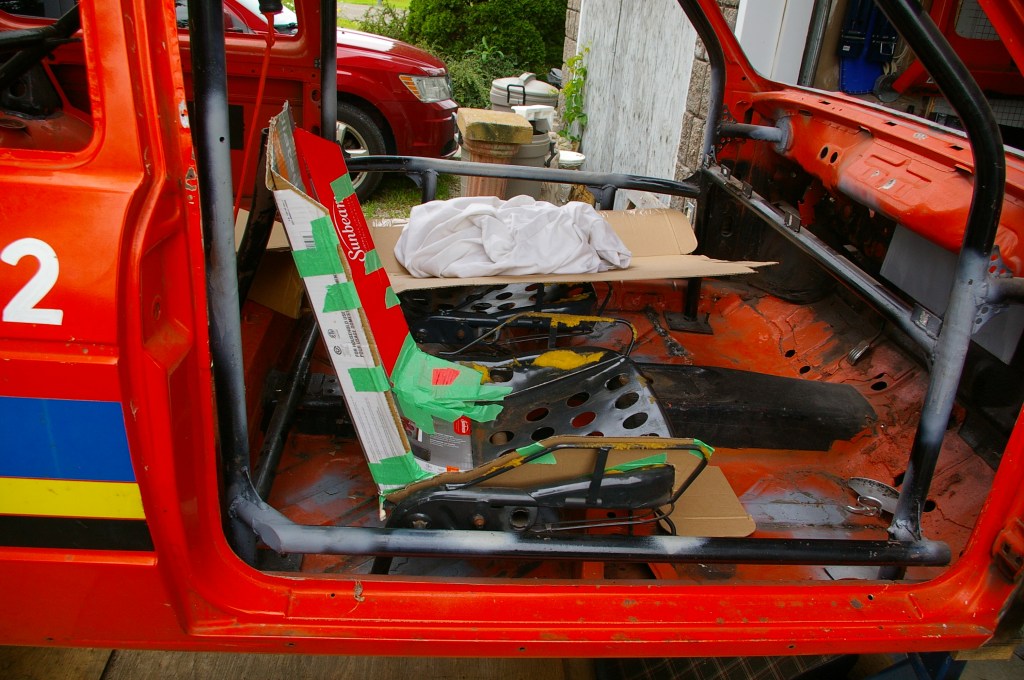
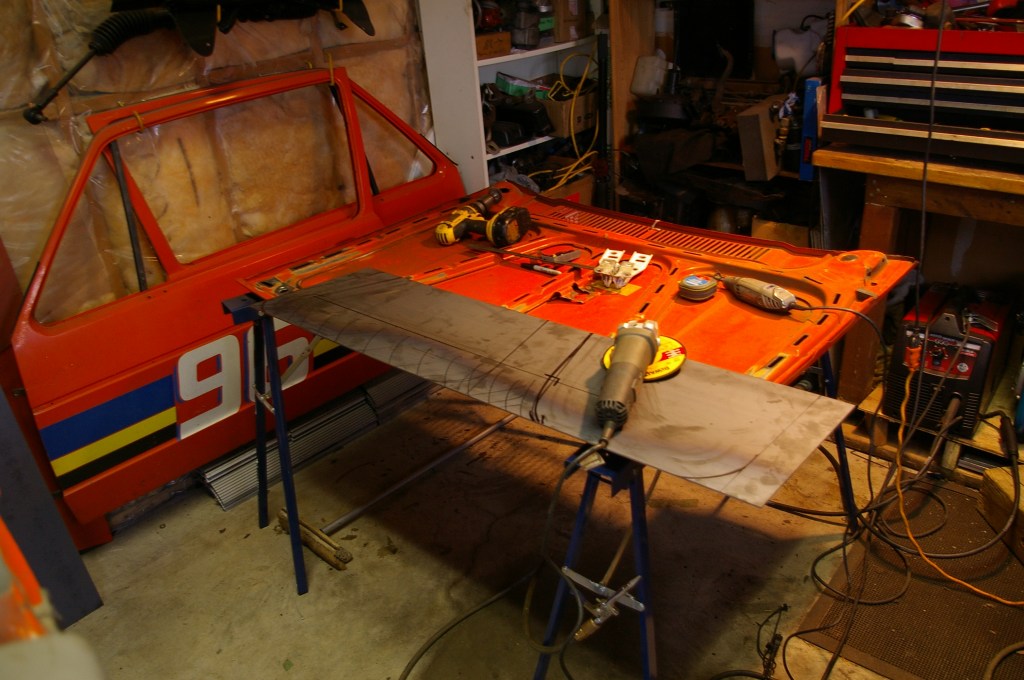
Seat are still up in the air. I toyed with the idea of a bench seat in the front for a while. I then modded some leather seat out of a MK3, they fit nice but the styling was perhaps questionable. The current kick is creating my own using the original bases as a starting point. Starting with a rough cardboard template to get a general idea of scaling. Next up i will building them in a 3d program to get the look and feel of them as well as try out ideas and construction methods.