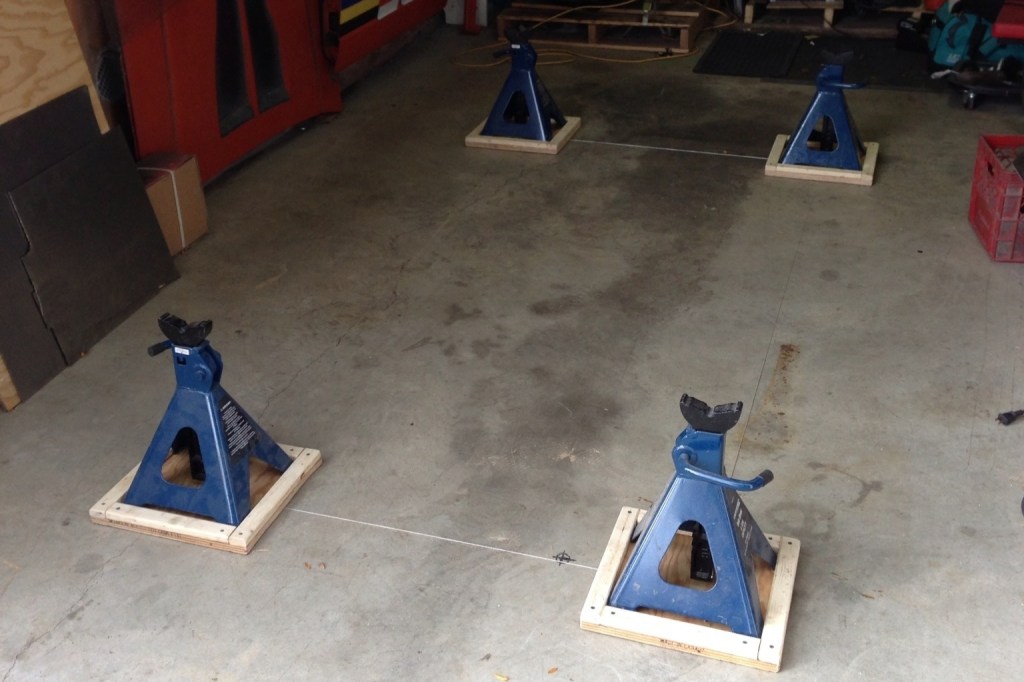
When your doing a restoration like this you will eventually come to a point where you will want to take all the suspension and wheels off the car. Not a big problem if you have space to leave the car on jacks and still work on all side. Unfortunately I have limited space and need to move the car around to work on it. My solution was to build a simple wooden dolly that supports 4 large jack stands. I started by dropping a plumb line down from each of the jack points making a mark on the floor. This allowed me to take accurate measurements and get the placement or the jacks just right. Once all the measurement were taken, I built some bases to hold the jacks. I then laid them out centered on the floor marks and built a frame to support them.
The castor wheels are really heavy duty and if you plan on doing something like this I recommend you take the time to find a suitable set that will support the weight of the car as well as still roll easily while under load. To get the car up on the dolly was not the easiest or smartest thing to do alone. Yet if you take your time and plan and think ahead, doing it by yourself is totally possible. Slow and steady is the key.

The one tool that made getting the car up on the dolly possible was a farm jack, which is a very dangerous tool is you don’t respect it. You would never think it, but I’d say even more dangerous then a angle grinder. Capable of lifting the car very high and from only one point there is a great chance of the car coming crashing down. You can minimize the risk of this by placing blocks under the car as you jack it up. This way if a jack fails the blocks will catch the car.

The car is now ready for the rest of the bits an pieces to be removed which will allow me to continue the body work and restoration. The added height really makes a difference when working on the car. No longer am I hunched over or kneeling on a pad. I can now stand and work more comfortably. Which will speed up all the work that still need to be done.

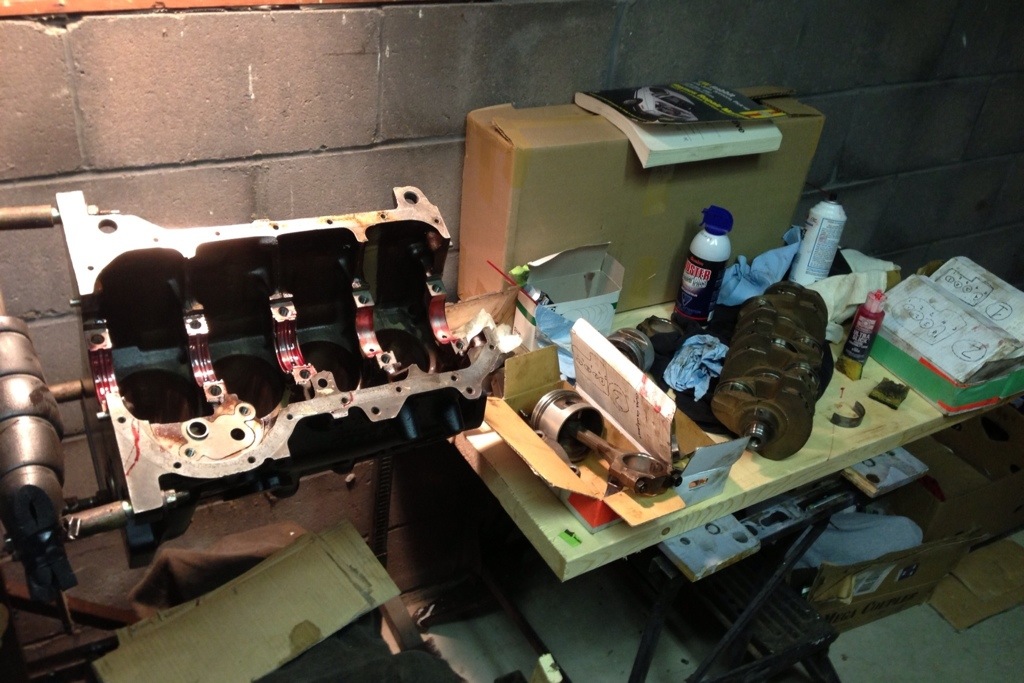
After washing the engine block and getting all the gunk off I masked and sealed all the openings so it can be primed and painted. Once dry I installed all the internals coating all the bearing surfaces with engine assembly lube. I also installed new gaskets and seals all around. The assembly lube is great if you plan on building your engine but maybe not starting it right away. The lube is very sticky and will protect the internals of your engine from corrosion while its sits patiently waiting for a spark and oil in its pan. It will also help protect your engine the first time it starts and give the oil pump a chance to circulated some oil.